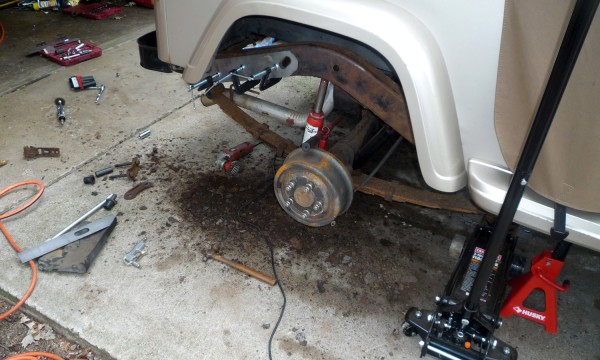
Just an update on the Jeep’s rusty frame repair. I have managed to get one side done. What a pain in the ass this is being! The welder is acting funky and throwing sparks like crazy, I have several very nice burns on my arms, hands, and legs from molten metal. I’m overall pretty happy with how the welds are turning out. Perhaps a little grinding and then adding a layer of rust encapsulator and chassis paint.
Jeep #12: Frame Rust Repair Part 1
This will be the first in several posts about fixing the frame rust, as I will not be able to finish it all today, or in 1 single day. The fuel tank removal took longer than I had wanted, and I’m sure installing it will not be any easier. The reason for removing the fuel tank was ofcourse to get in there and repair the frame rust that has plagued the Jeep. The repairs should be very strong, and as long as it doesn’t immediately rust out again, it should last several years before I need to think about replacing the whole frame. Here is the rust that I have managed to break free from the outside (and inside) of the frame. Consider that I had gotten rid of a lot of rust prior, and it all ads up to A LOT.
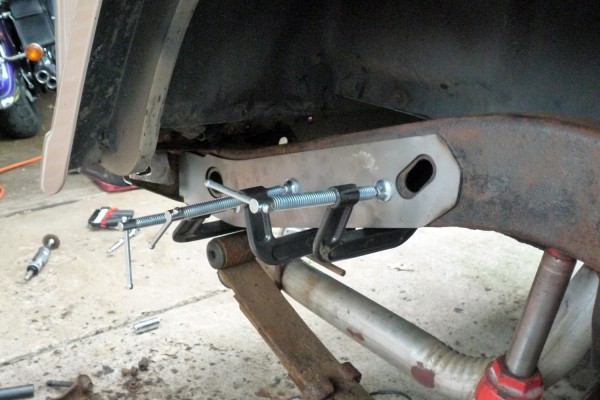
Here are the plates that I have purchased to do the repair. I got them from a guy on JeepForum, but I think he also sells them on eBay. They are very thick ~1/8″+ laser cut steel, to which I made a few modifications. Here they are clamped in, but in the next few days they will be fully welded into place.
Jeep #12: Fuel Tank and License Plates
Since it was in the 70’s today I decided it would be a good time to get some much needed work on the Jeep. I was ambitious to think that I would be able to get all of the work done today, but the rust monster has struck again. I intended to repair the rear frame area rust, which unfortunately requires removing the gas tank. It took a lot of cutting, cursing, and cramping but I managed to get the gas tank out after a few hours. Most of the rubber hoses will need to be replaced however, because when the tank was last installed (either by someone, or at the factory) all the clamps were installed upside down and inaccessible.
I will have to resume the welding sometime later this week.
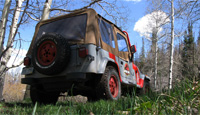
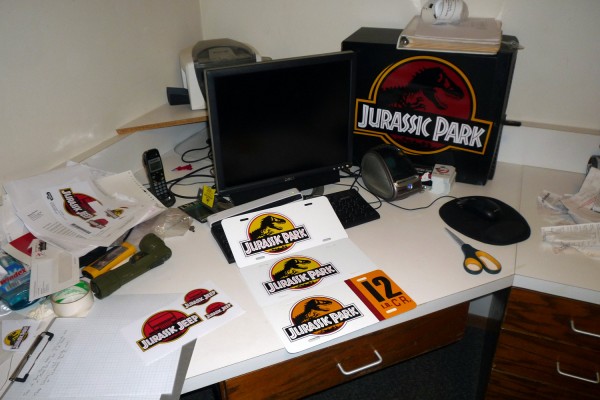
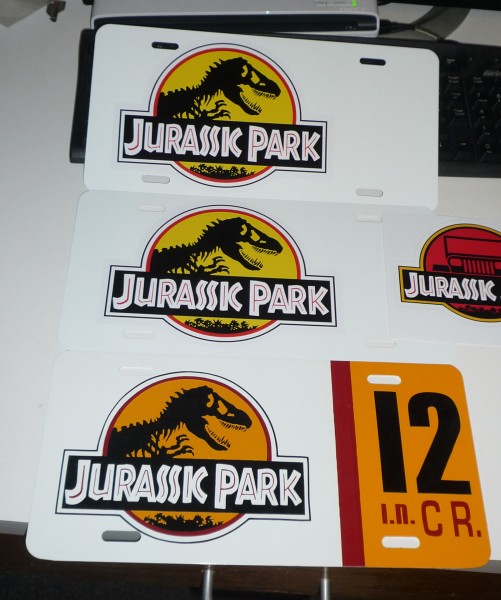
In the meantime I had some stickers made and I decided to see how they would look like on a license plate blank. They need some tweaking and overall are too big, but a set in the right direction for an accurate license plate. (BTW…. would anyone like to buy one?) I also took a quick shot of my work area’s Jurassicness.
Site: Jurassic Park Soundboard for Android Phones
While we were developing a way to make sounds for our Jurassic Jeep projects one idea was to load the sounds onto our mobile phones and play them out of the speaker. Rather than limit this to just our vehicles, why not branch out and make it available to all? That is exactly what we have done!
Find the Jurassic Jeep soundboard for Android mobile phones in the Android Marketplace! Here is a video of the app running. We’ll have video of it working in the Jeep in the next few months! For an example, check out Jeep #18 running a similar system here.
Jeep #18: Jurassic Park is Frightening, in the Dark
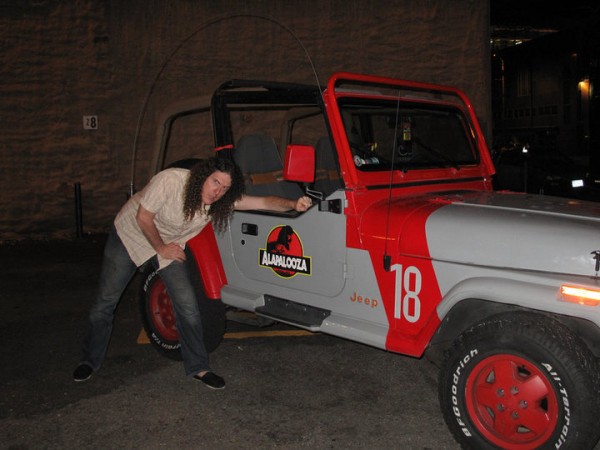
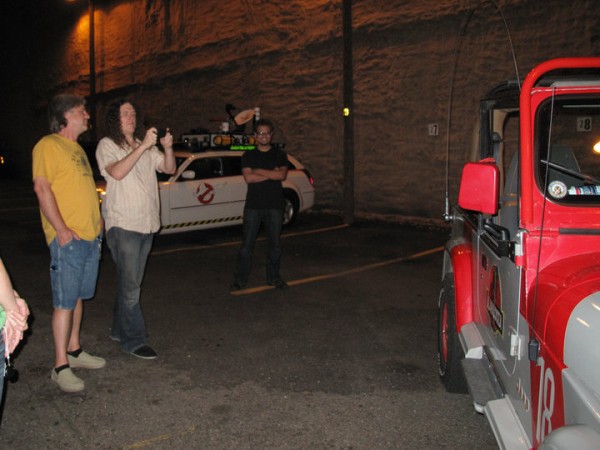
Went to a Weird Al concert the other day and managed to catch him on his way out afterward. He didn’t see the Jeep at first, then was thrilled when he noticed our temporary logos. It was a pretty awesome experience.
Jeep #18: Hold onto your butts
Hold onto your butts.
This is a video of us testing the volume of the powerhorn while the Jeep is running. I initially had my doubts that the speaker would be louder than the engine, or at the very least would be barely audible above it. Boy was I wrong! The horn is placed to the right of the fanbox and is currently running off of a 300w amplifier and an arduino board. Sounds haven’t been tweaked yet, just looping four basic sounds while I did a walkaround. Due to the lack of bass, the t-rex roar will probably never work the way I’d like it to, but the sharp raptor shrieks and dilophosaurus hisses are wonderful. Eventually I’ll have each sound wired to a button on the dashboard so I can play each on command. I still need to work out my “must go faster” clip.
Jeep #18: At Long Last
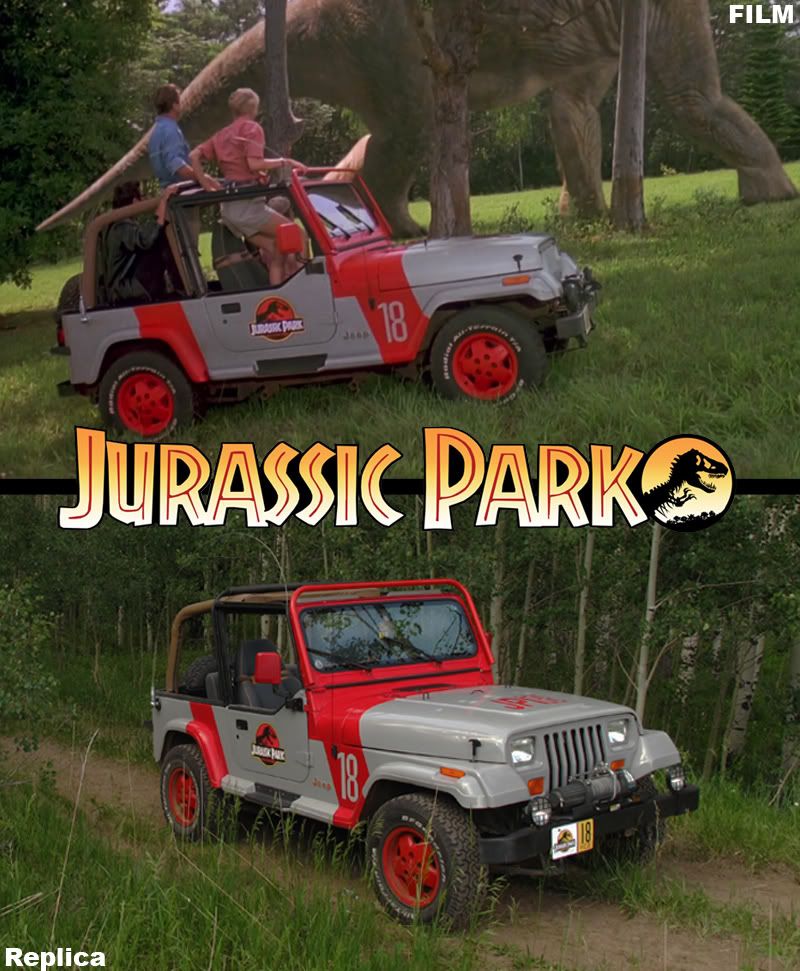
On another forum we were discussing exactly what was done to the Jeep from start to finish and why it took so long for a seemingly straight-forward modification.
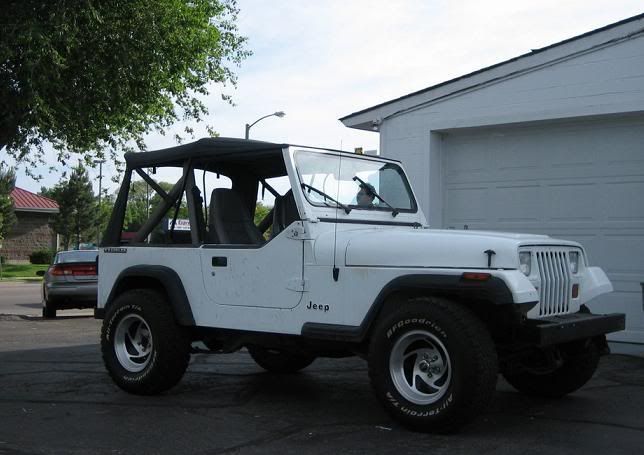
This is what I started with.
I had to take a 1990 YJ SE and make it look like a 1992 Sahara
Summer of 2007
-painted jeep
-sold wheels/tires
-replaced speakers/wiring
-removed carpet
-coated interior with truck bed liner
-painted new wheels
-added front bumper fog lights
-replaced all exterior lights, markers, and seals
-replaced windshield
-tracked down and found correct Sahara-style seats
-replaced rollcage with correct type
-made and applied vinyl graphics
-replaced wipers
-replaced hood hardware
-added whip antenna
-bought spice padding for rollcage
-bought new fender flares which had to be repainted several times due to problems with the flex agent
-added fender flares
Summer of 2008
-added accurate soft-top hardware
-retouched interior with bed liner
Changed jobs, moved to Denver, that took up the vast majority of that summer
Summer of 2009
-found side steps
-fabricated lightbar from scratch
-painted lightbar and side steps
-added winch and winch plate
-replaced steering pump
-replaced slave cylinder
The rest of the summer was spent building the new Ecto.
Summer of 2010
-painted center console
-removed interior and applied bed liner
-wired winch-
-replaced muffler, catalytic converter, tail pipe, and headers
-remade front and rear plates
-painted second lightbar
-added soundbar and wiring
-added rear amber lamps (DA AMBERLAMPS) and wiring
Still on my to-do list is to paint the interior door panels and have my fiancees mom sew up some accurate Sahara pouches. Down the road I’ll likely swap out the front fog lights for more accurate models, the same goes for the rear lamps once the actual models have been determined. I hope by the end of the summer to have a large speaker wired up under the hood and hooked to an arduino board with dinosaur sounds.
Work was only done in summer months, I moved to a new city during one of the summers, deconstructed one car and built an entire new one during another summer, and I’ve largely been driving it around and enjoying it the rest of the time. The majority of work on the cars is spent fighting entropy. Keeping the vehicles themselves in running condition along with keeping their modifications looking good.
We went up into the mountains over the weekend for a celebratory romp through the mountains Spoiler (highlight to read):
before it rusts into the ground The very last bit of work was to (finally) wire up the winch. Once the solenoid was mounted under the hood, I added a few grade 8 bolts to the winch plate and we were good to go. A quick test of winching the Jeep up the drive way and my confidence peaked.
Leaving Denver and it’s triple-digit temperatures behind.
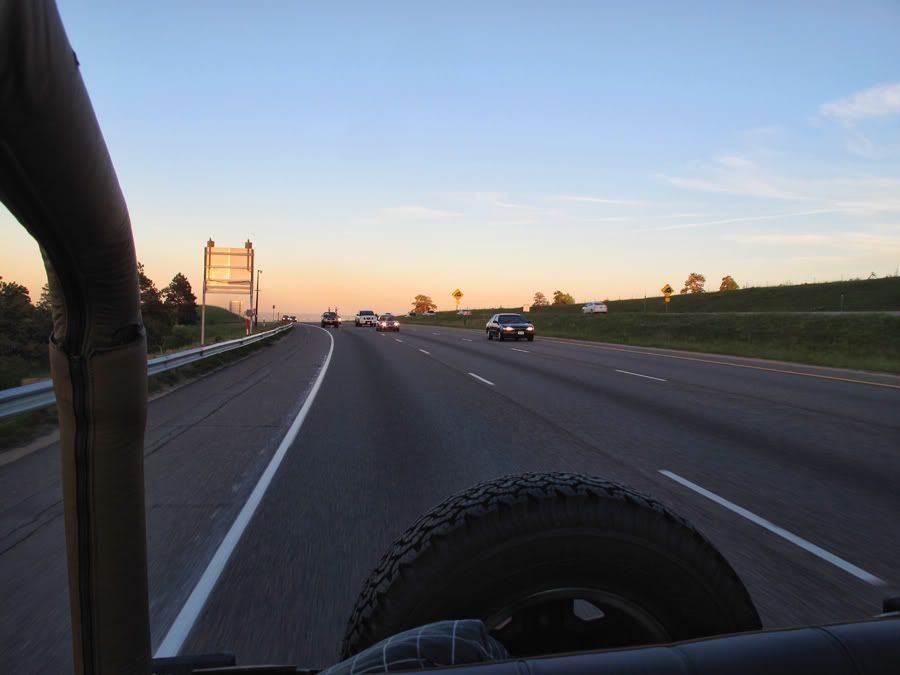
Since it was a Friday, we got to see a whole slew of outdoorsy-type people dragging their toys up for camping trips and whatnot. This was pretty good.
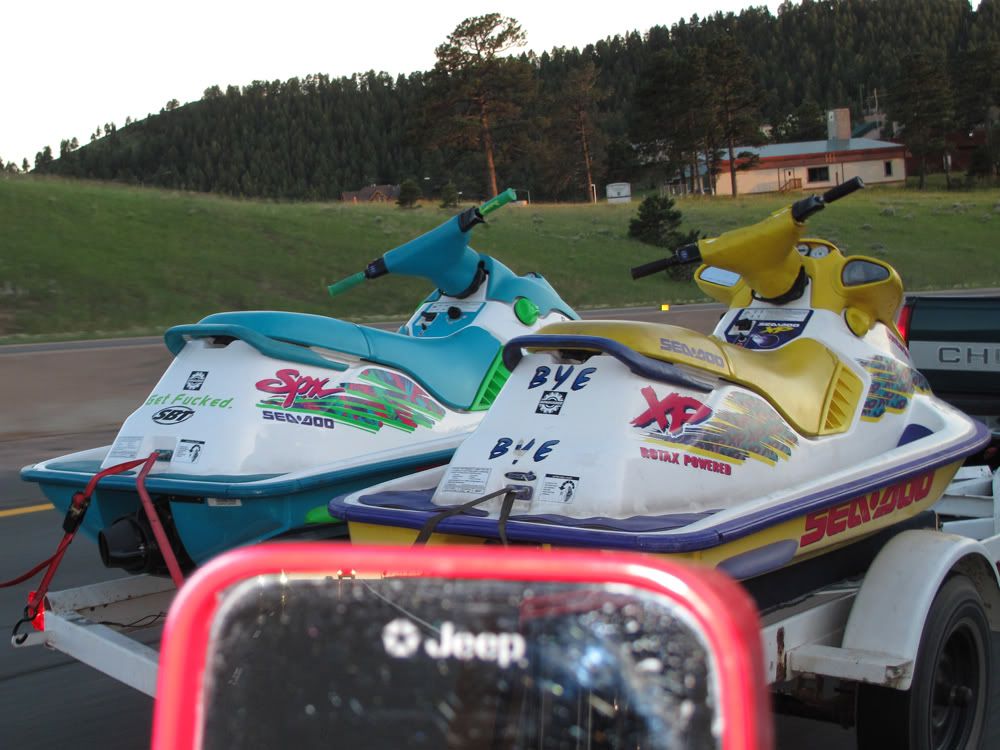
My first job was at a marina and there was this awesome ski boat with a corvette engine called “Erection.” One day I hope to see a thread of awesome watercraft names.
The first thing we did on Saturday was drive to the top of the mountain my folks live on. There used to be a radio tower on top, but it’s since turned into a cell tower farm for the whole valley. The BLM road starts off really small and winding, then opens up a bit into older logging roads.
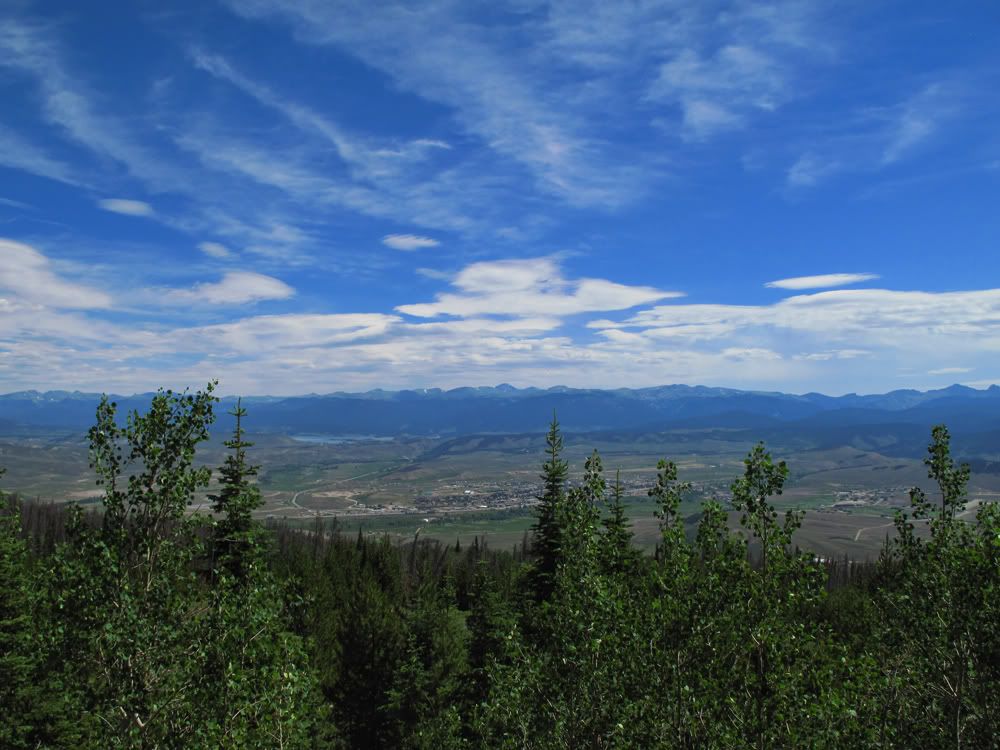
Here’s a pretty decent view of Granby, Middle Park, Lake Granby and Grand Lake, and the Continental Divide.
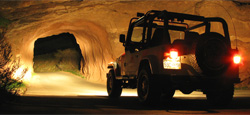
We got to the radio tower after about a half hour. Little sheds with fences and power generators all over. It looked pretty close to an InGen facility, but the morning light was so harsh that the Jeep looked almost white. I decided to come back around sunset and we headed back down.
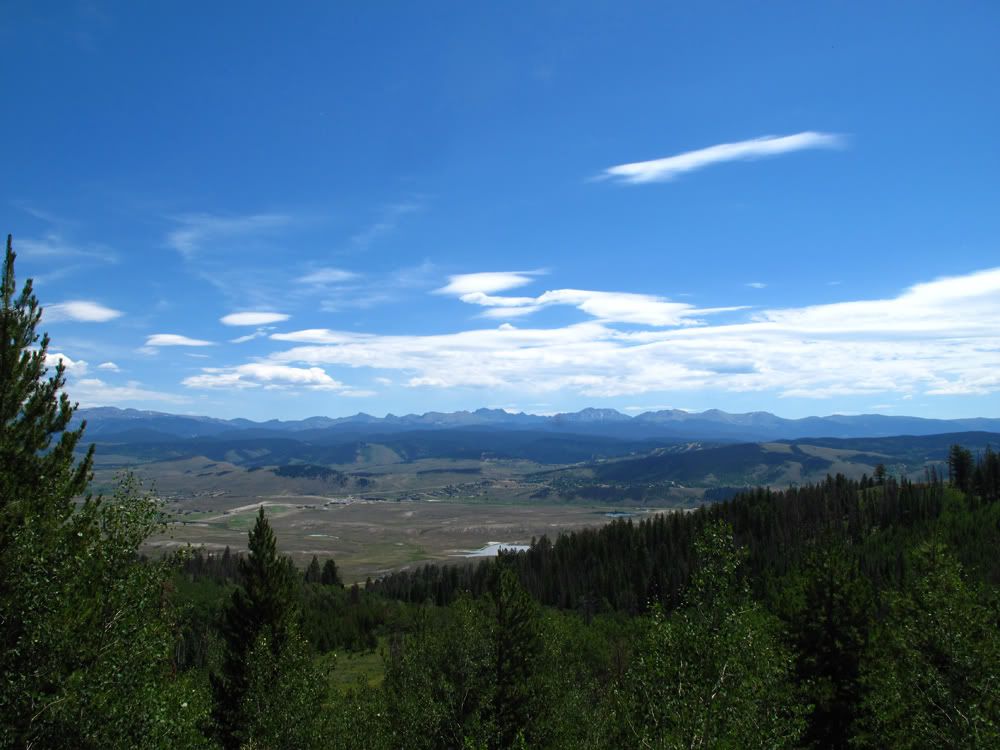
Another view, looking east.
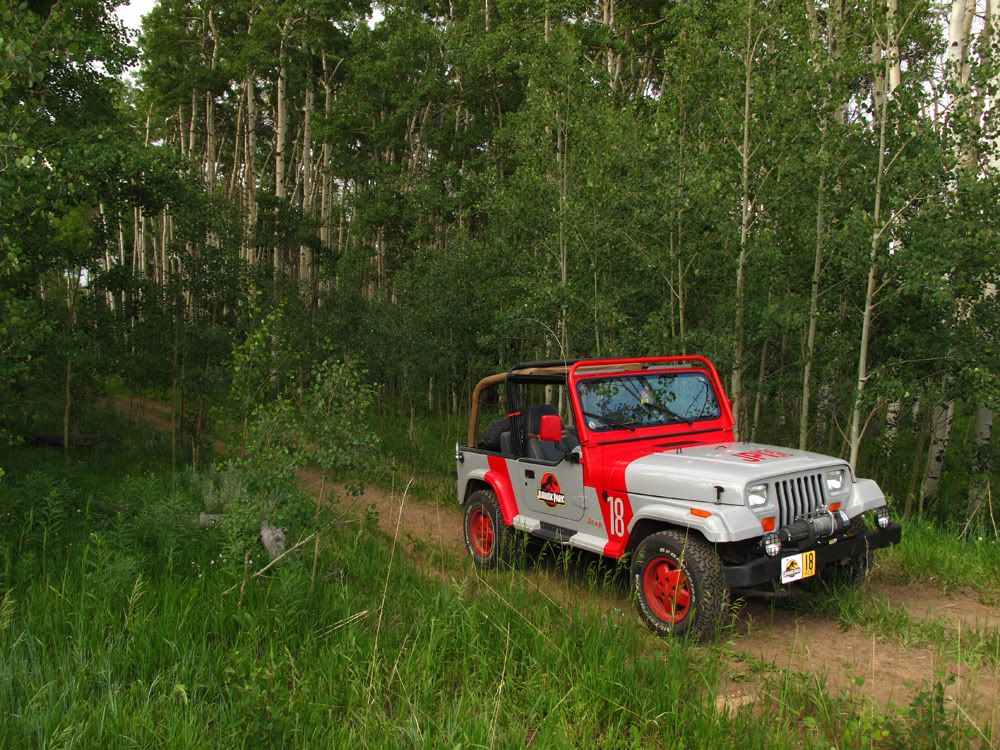
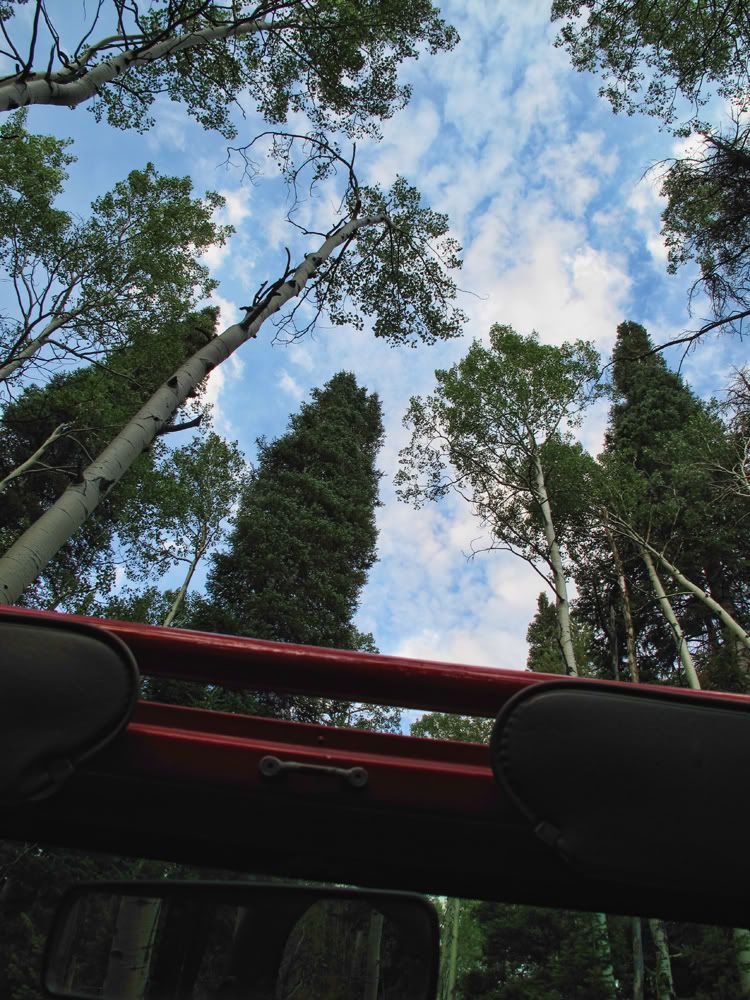
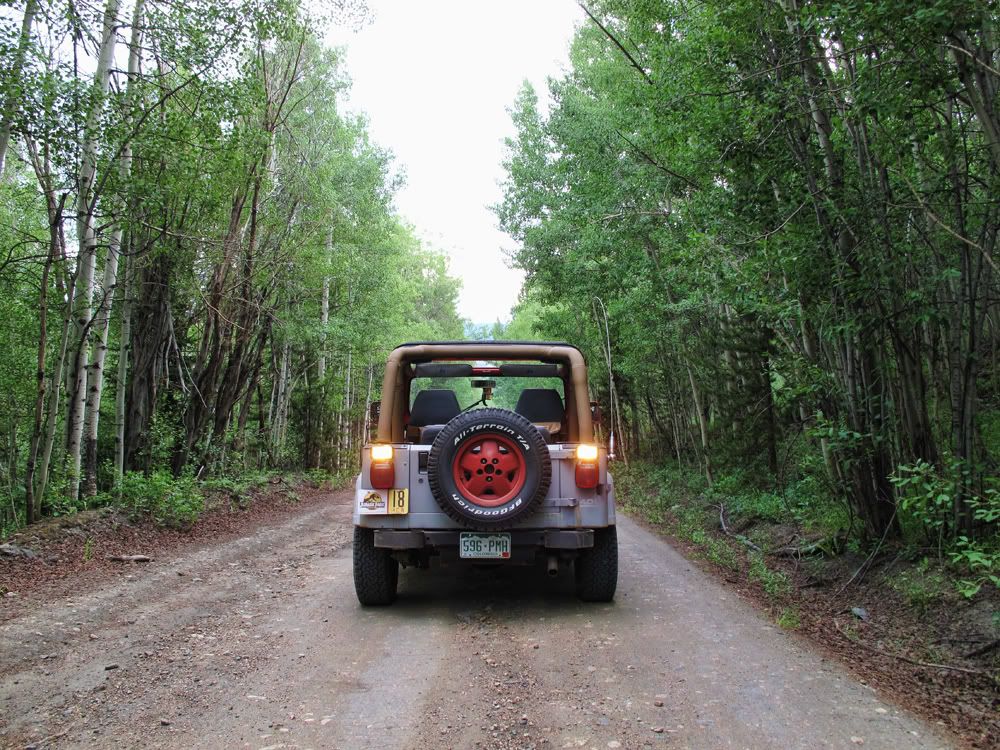
Aspen arches are the best. Especially if you go slow enough that you can snap your best friend in the face with a bent branch.
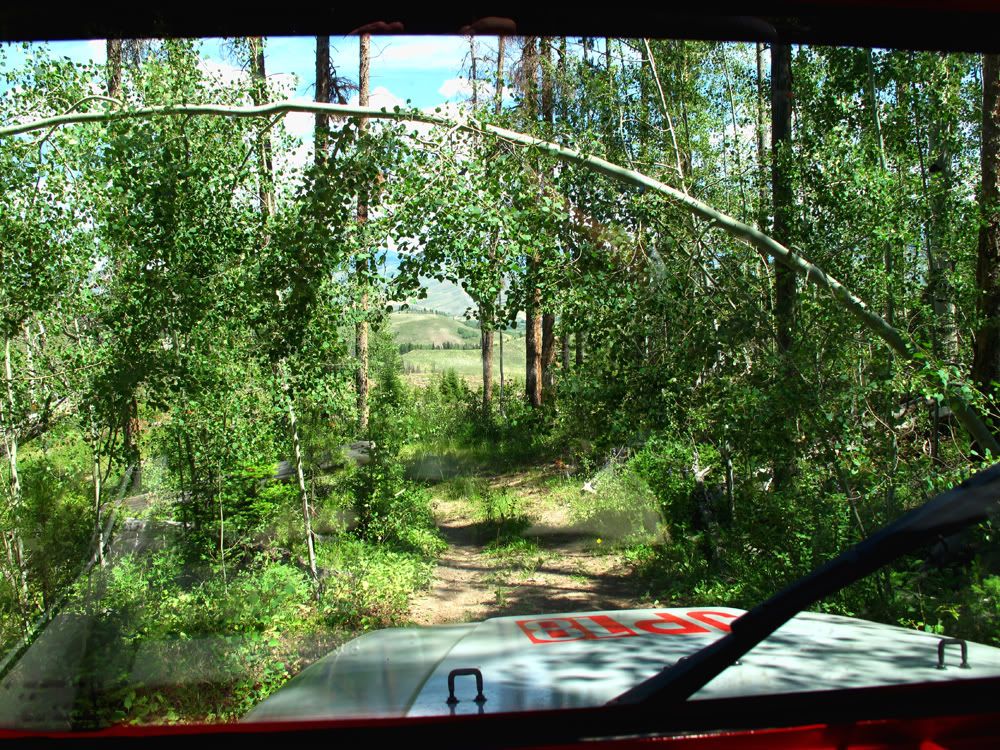
If my buddy knew how to drive stick, then I’d probably have spent the entire trip staring straight up, the trees were gorgeous.
After the radio towers, we headed south to Winter Park and took Moffat Road up to Rollins Pass. This was the first road I took the Jeep up back in 2007, so I figured it would be nice to revisit with the completed vehicle. Old Moffat Road used to be where the railroad went up and over the continental divide before the big tunnels were built. Here’s an illustration from a 1922 issue of Popular Science.
When the tunnel was built, the railroad pulled up their ties and the path became a 4×4 trail. There are still a bunch of trestles and water towers up there, though. Neat stuff.
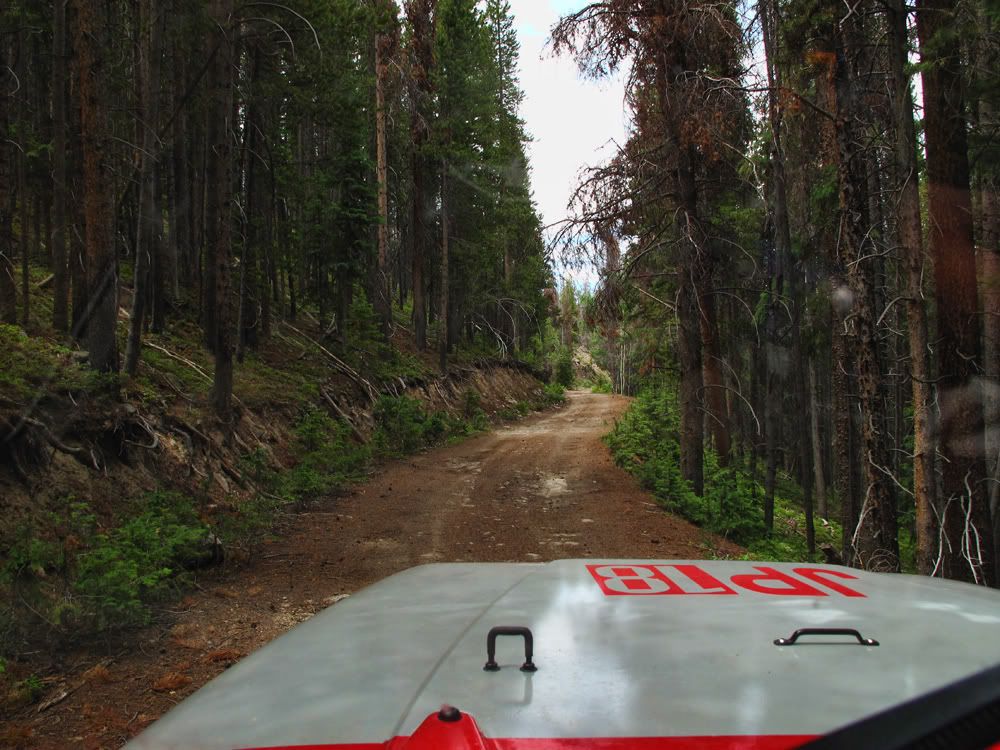
Moffat Road proved to be bumpy as ****, and also pretty busy. There is a ton of logging going on up there as the entire forest is slowly being killed by a massive pine beetle infestation.
We got to the top (about 11,200 feet), parked, and started to hike the rest of trail out east.
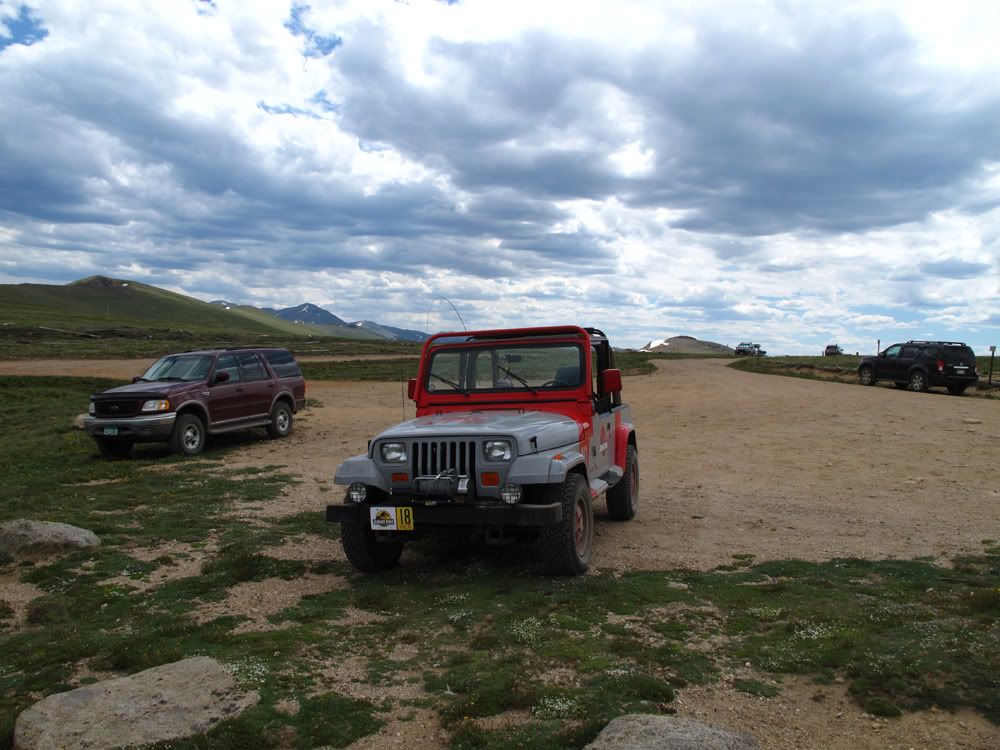
Beautiful, beautiful alpine tundra.
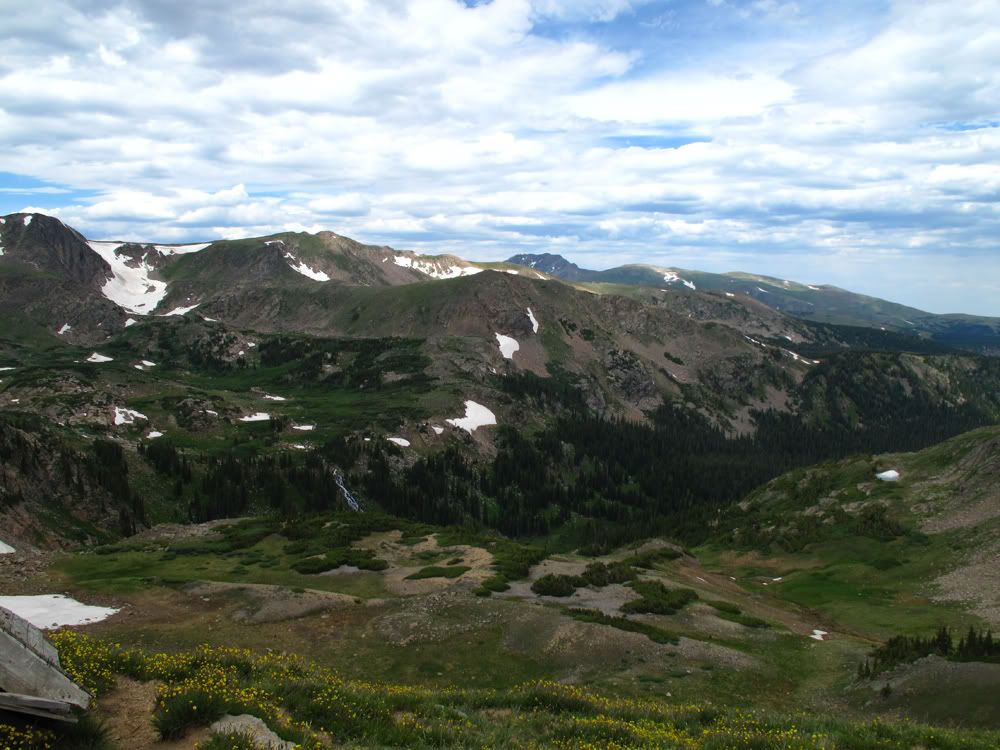
One of several old trestles. This section of the road is closed off, which is too bad because I bet driving over one of these is really ****ing fun.
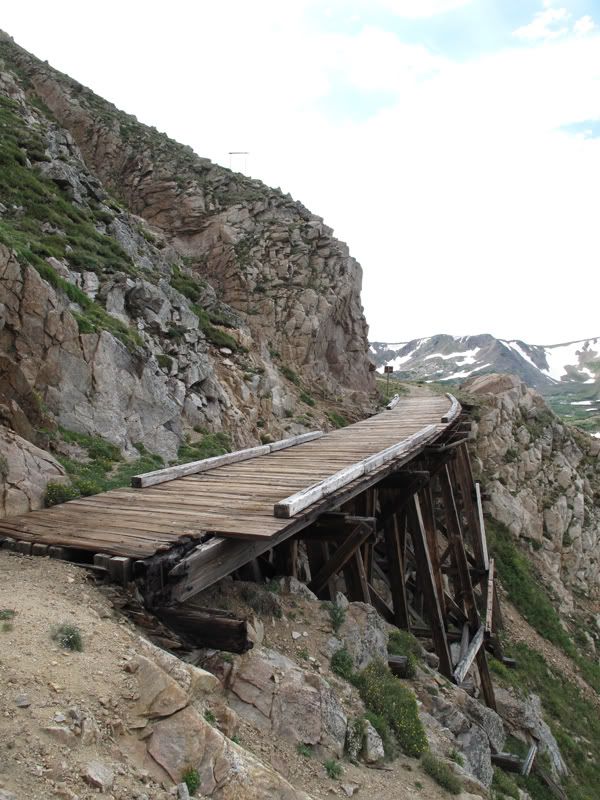
After hiking out along the divide for two hours, we headed back to the Jeep and started down the mountain.
2007:
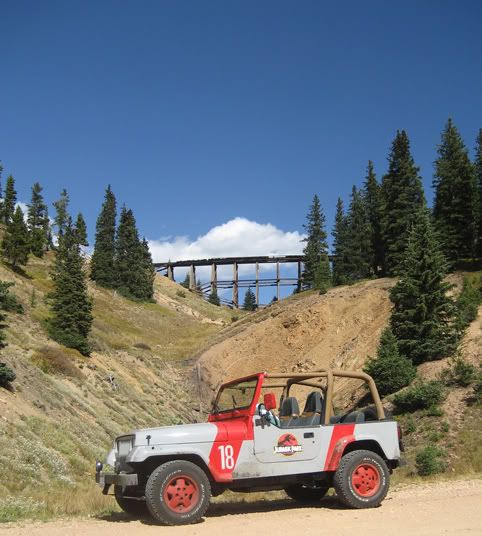
2010:
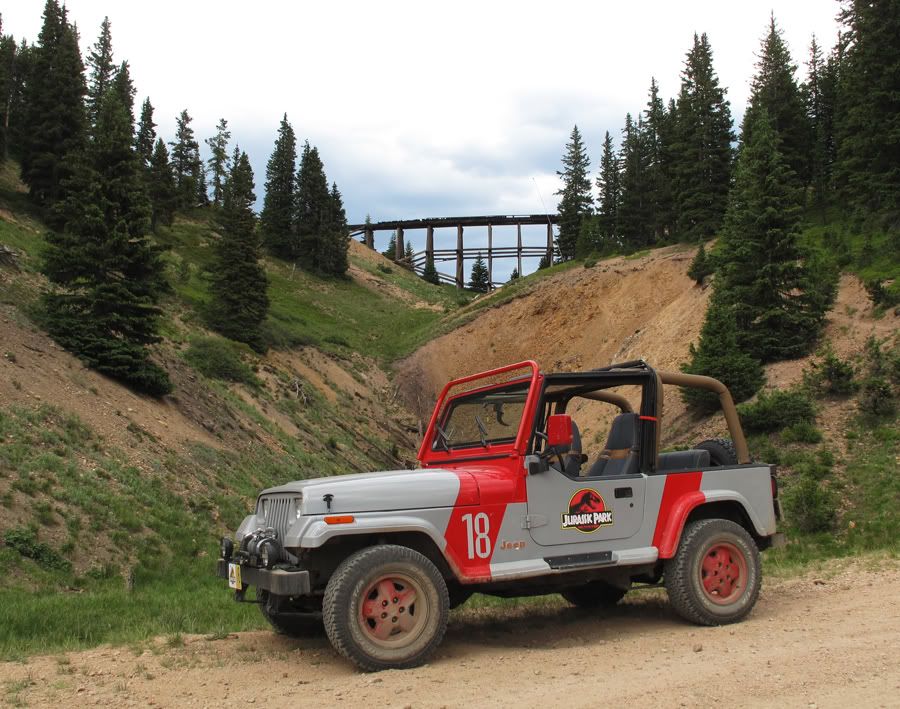
So, I guess, three years of working on tiny unnoticeable details?:smithicide:
We got back to the house in time for dinner, immediately after I shot back up to the top of the mountain to catch the sunset at the radio tower.
This was kind of fun.
[url]http://www.youtube.com/watch?v=LuHJwh478Js/url]
Someone should ABSOLUTELY shop in some JP and InGen corporation logos on those sheds.
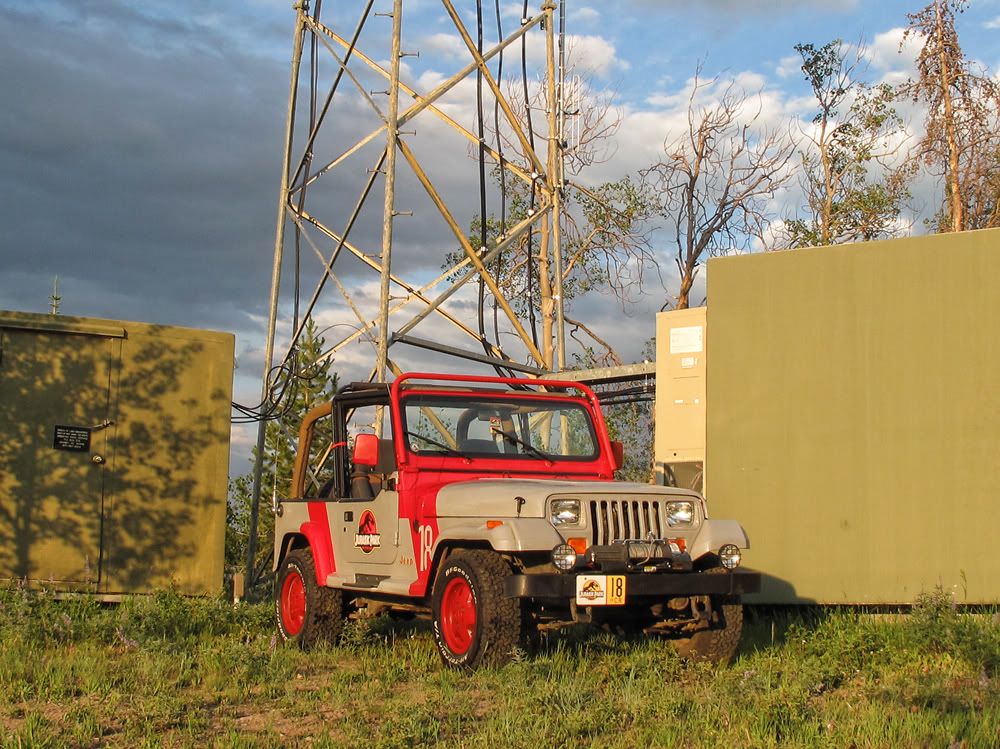
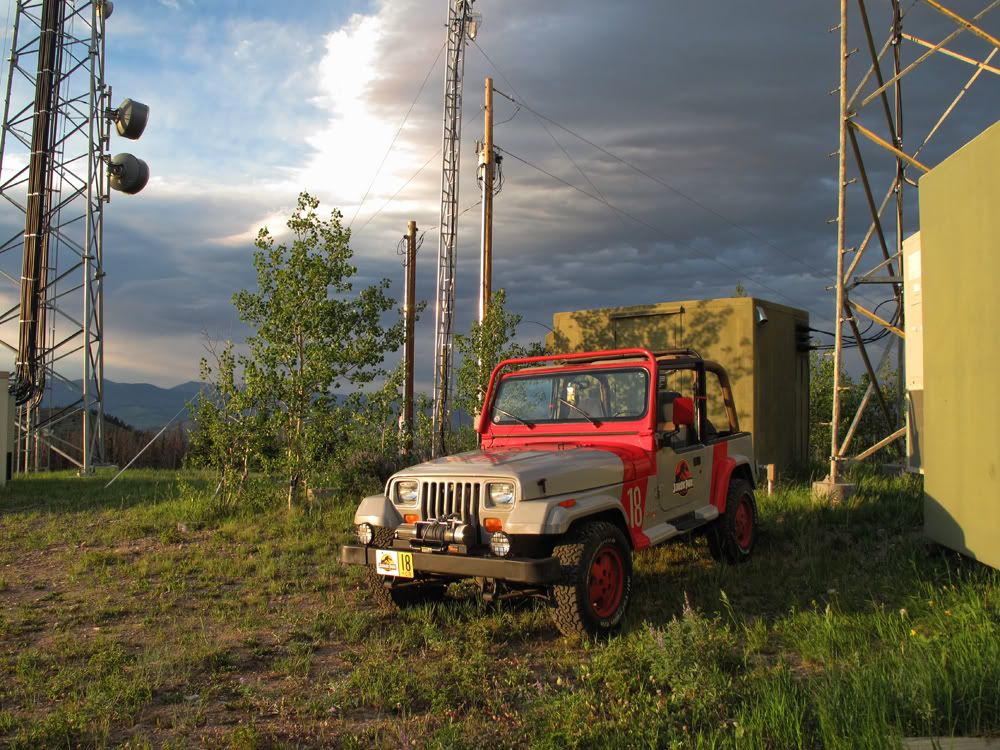
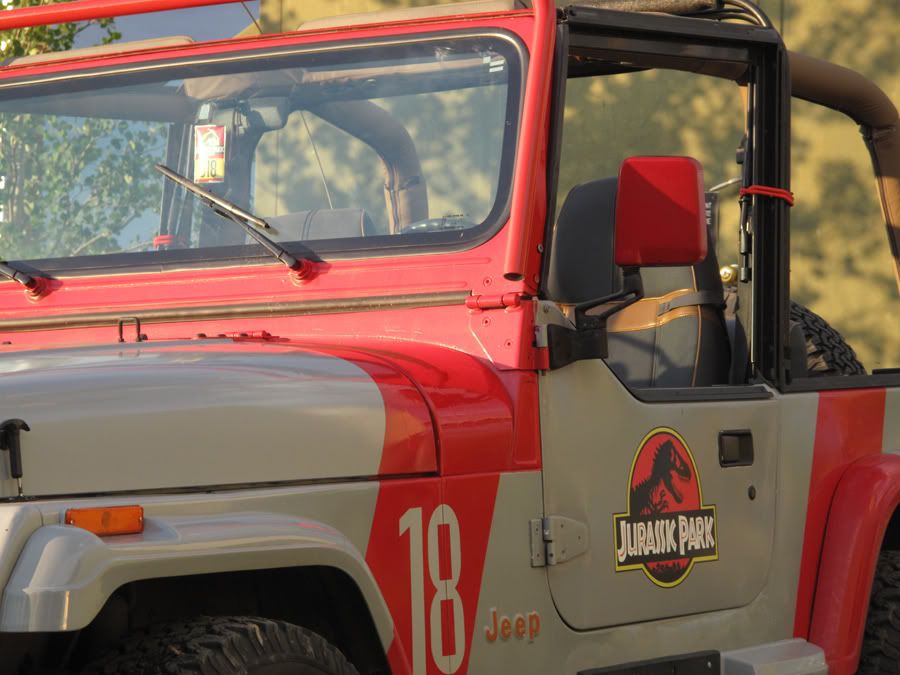
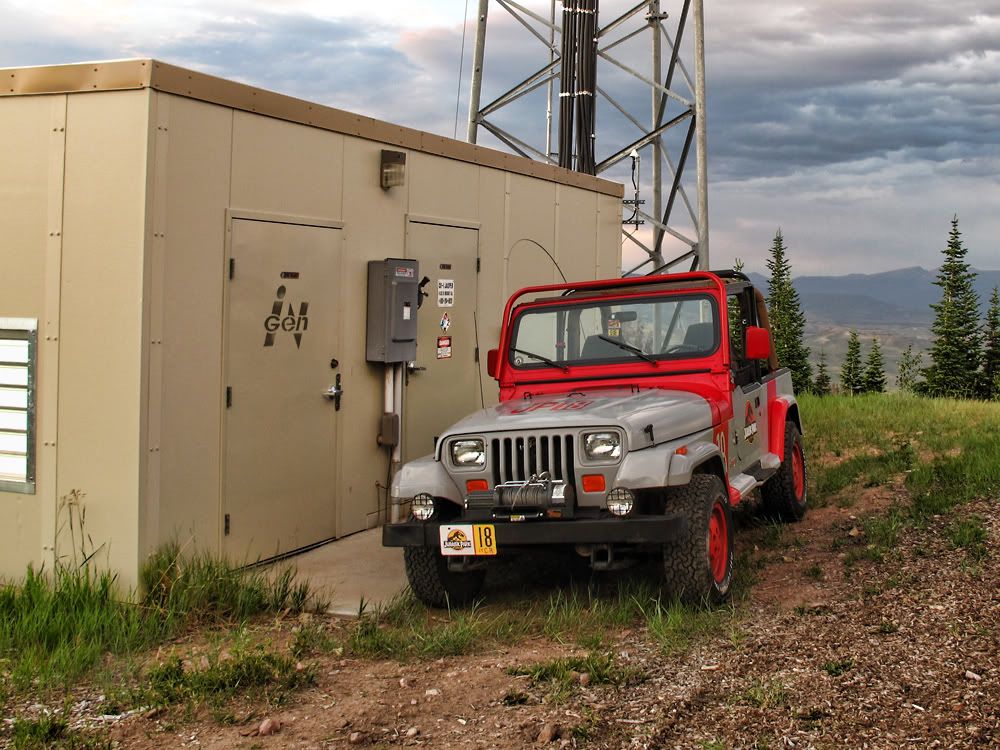
Yeah, that last one is a photoshop. But don’t for one second think that I’m not going to kinkos tomorrow to print a large version of that logo and make it into a cardboard stencil. That **** is happening.
Got a pretty awesome sunset on the drive back down. There must be a forest fire somewhere because the sky was all kind of red and orange even before the sun went down.
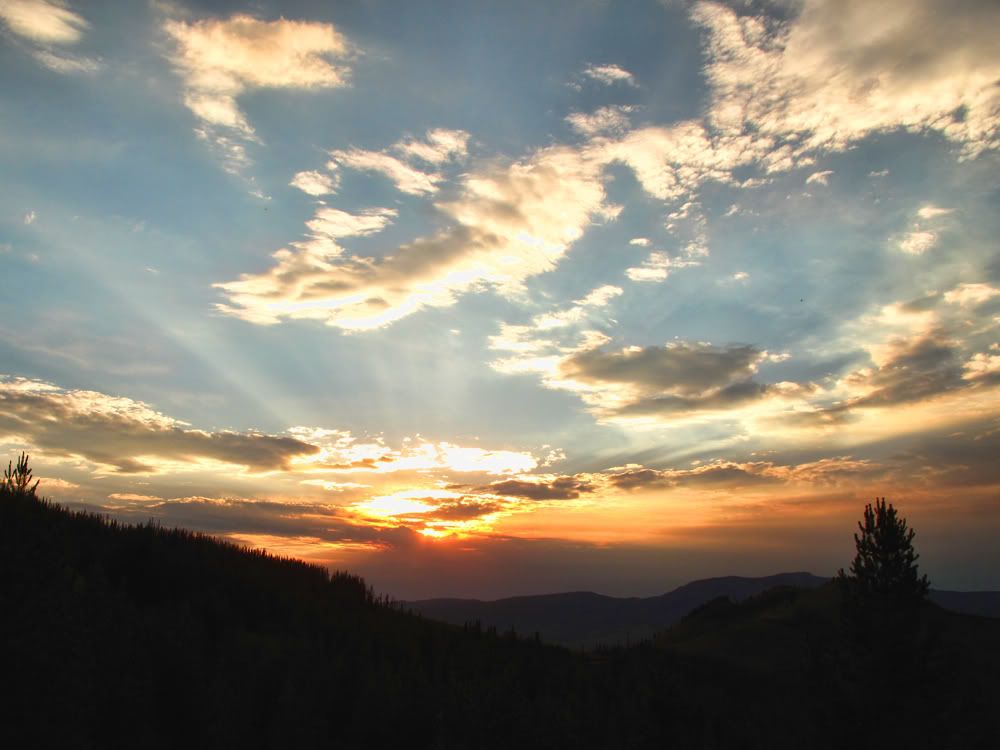
On Sunday we just tooled around Middle Park. Caught a big barbeque and parade thing in Grand Lake, had turkey legs, endured a pretty awesome mountain thunderstorm, the usual bull****.
We drove home through Rocky Mountain National Park, which is in the opposite direction as Denver but is like fifty times more fun. Had a pretty good laugh showing the park entrance rangers the “visitor pass” and “dinosaur specialist” badges I keep in the Jeep and trying to convince them to let us in for free to take care of a sick triceratops. This has worked in the past but I think the lady we saw didn’t have a sense of humor.
I’m a ****ing dork.
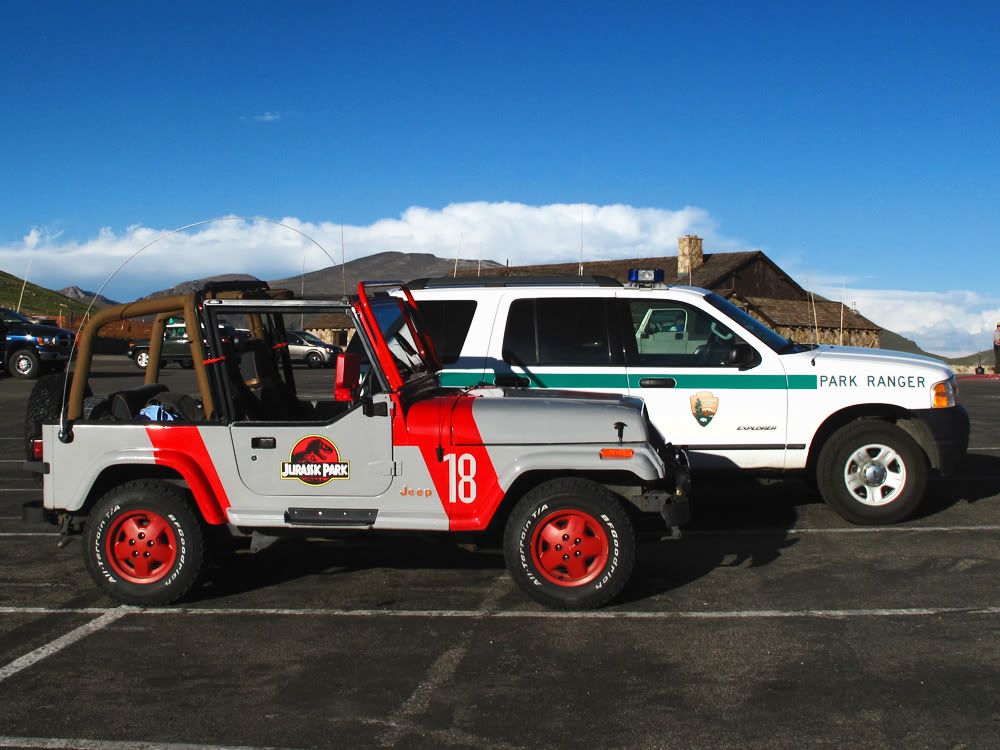
Very nice sunset views from atop Trail Ridge Road.

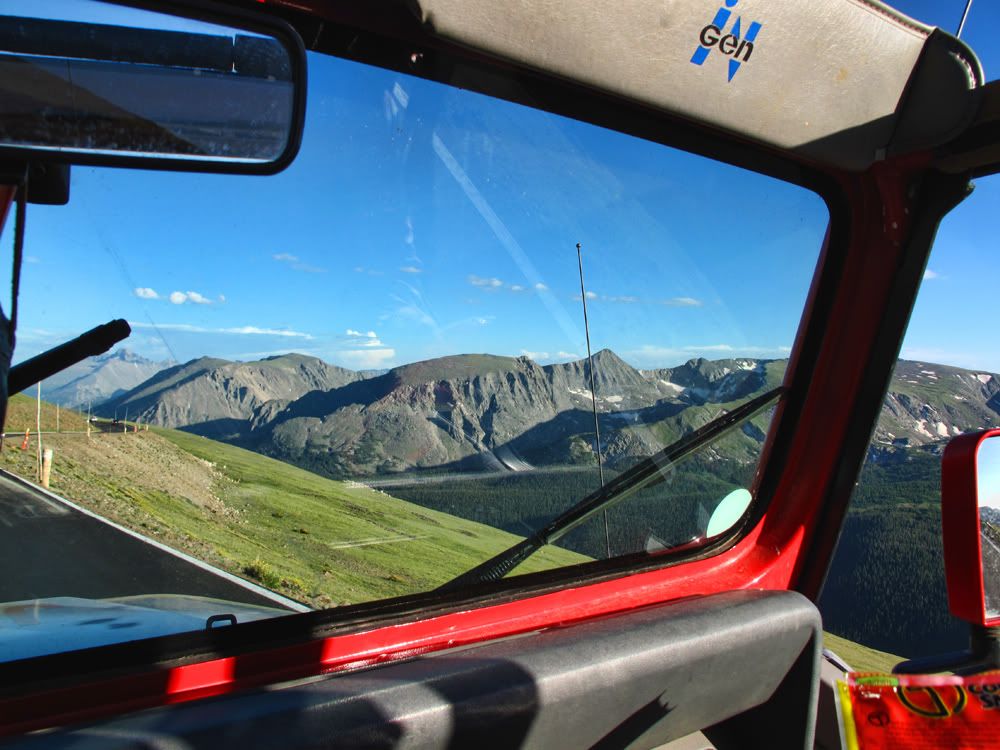
Pretty awesome weekend. I’m just disappointed I didn’t get a chance to use my winch 🙁
Jeep #12: Amberlamps!
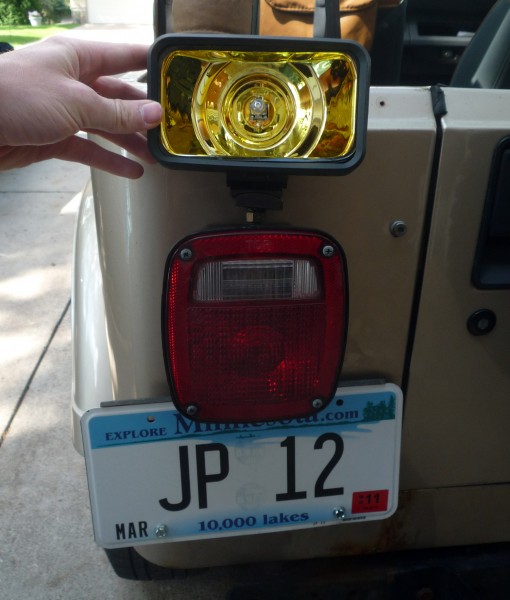
To follow in Boomerjink’s footsteps I am finally getting my Amber Lights ready to be installed on the rear of my Jeep. These lights are Explorer Pro-Comp 9250 lights that I bought from an online retailer. They took 2-3 months to arrive. Not going to recommend that company here.
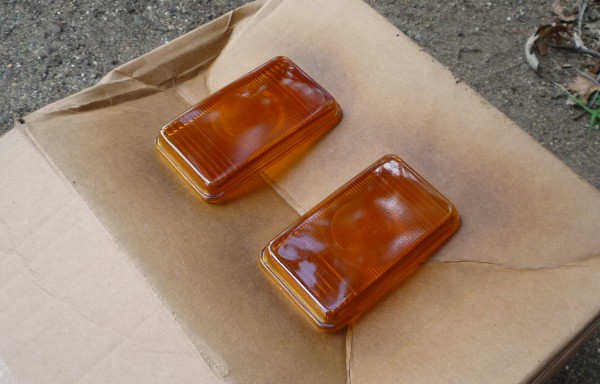
The lights are extremely close to the ones on the original Jeeps, and I would not be surprised if an older style of these lights were what was used. They must have updated the lights recently though, as the lenses were actually clear, and the reflective surface was what was amber. So in order for these to actually look right they need to be painted.
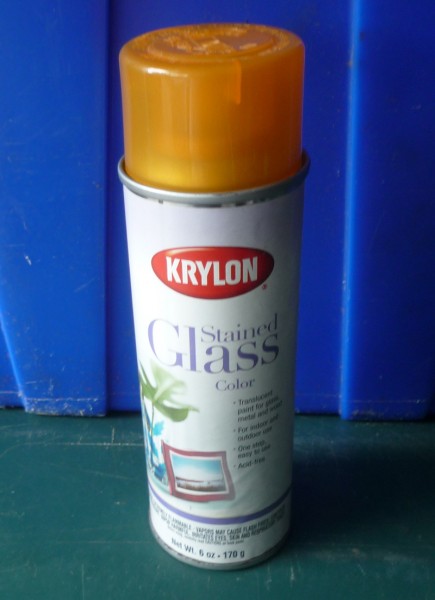
Here is what I used to paint the lenses. It is Krylon Stained Glass paint in amber color. Its about $10 for a spray can and is available at Michaels Arts and Crafts store.
The lenses in the Explorer Pro-Comp are made of glass, which makes them very easy to paint. If you screw up, it can be sanded down.
Here is where the lights mount. Note that there is a bolt on the bottom to secure to the top of the rear light.. It actually sits down on top of that light and does not stick up this high. The lenses are also not installed in this photo…
Hopefully I can get these installed and wired in the next few days.
Jeep #18: Somebody Call Da Amberlamps
Small yet significant addition. I finally mounted the rear amber markers.

Very simple autozone-style fog lights hit with stained glass paint. These will act as placeholders until more accurate lamps are sourced.
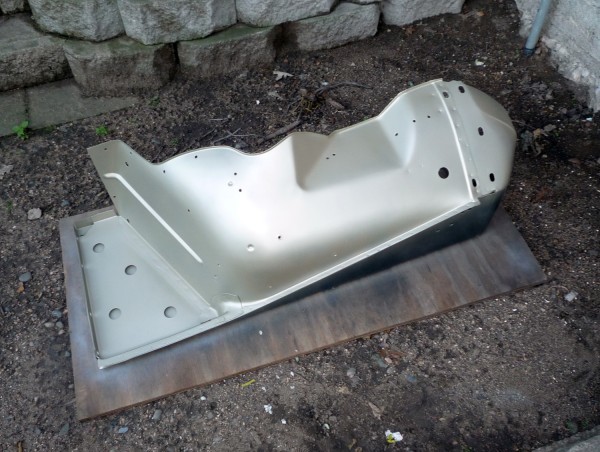
Jeep #12: Half Painted Fenders
You may have recalled that I ordered and recieved a set of new fenders a month ago. The fenders were completely black primer and ready for paint, and I know that when I get the Jeep painted that they will probably not paint the inside of the fender. So I ordered up a spray can of Sand Biege Low Gloss Metallic from an online paint suppler. I prepped the fender with a little surface cleaner and then put on two and a half coats. Turns out there isn’t as much paint in those cans as you would think… but atleast one fender looks well coated on the inside.


