
I’ve been tinkering with the jeep over the past 2 months, and hadn’t had a chance to update my progress here. Mainly having fun during summer driving the jeep!!!
Keen eyed observers may have noticed on the jeep trip photos I posted, there was a winch installed and the rear fog lights were installed. So, let me backup and cover those first.
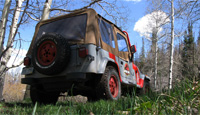
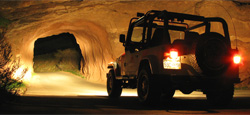
Rear Fog Lights: The original KCs can be hard to find, but a couple show up on ebay every so often. I decided to go with new lights that are almost duplicates of the original KC lights. They are by a company called Eagle Eye lights, they are the correct size and color, BUT they come in a chrome housing instead of black. The ones I choose also had a thick plastic lens ring with louvers. I removed the louvers from the lens ring and I used spray plastidip to convert the chrome housing into black. The results look almost identical to the KC lights.
Winch: I knew I wanted a new winch instead of the 20 year old ramsey winches from the movie. I read reviews and decided the superwinch lp8500 had good reviews and would look very similar to the Ramsey after I moved the winch solenoid. At $300 it also came with the correct hawse fairlead instead of a roller fairlead so many winches come with. I bought the winch mounting plate NOT made specifically for a YJ. The mounting plate I bought would bolt right up to most trucks, But not the YJ. I choose this mounting plate because it looked like the ones from the movie. My neighbor has a drill press, so adding the holes to align with the YJ mounting holes for the tow hooks(which of course needed removal) was pretty easy. Here you can see what the winch looked like during the offroading trip with the solenoid in the “from manufacturer” location.
Correct BFG All Terrains: My old tires were at end of life, so it was time to get these as well. New BFG All terrains from the local Discount tire in 235/75/15 size.
The BFGs and the winch were literally done in the last 3 days before our offroading trip. I didn’t want to chance my old tires, or getting stuck, so it was as good an excuse as any to get those parts off my checklist.
Since that trip I have also completed the last items as well.
Remote mounting the winch solenoid: I started this project hoping I could get it done in a day, but alas things went awry! Mainly the fact that the auto parts stores by me only stock 4 guage cables, and the winch needs 2 guage. I started by taking the solenoid off and figuring out where under the hood it would fit. It fits very well over the wheel wheel in front of the stock jack. I created some brackets from building brackets from the hardware store, and then I found a place online that deals mainly in batteries (marine and otherwise) and they made me up the custom cables I needed. While waiting for the cables to come in from my online source I painted the bracket and installed the solenoid box, so all I would need to do was hookup the cables when they arrived. (below pic is waiting for cables to arrive)
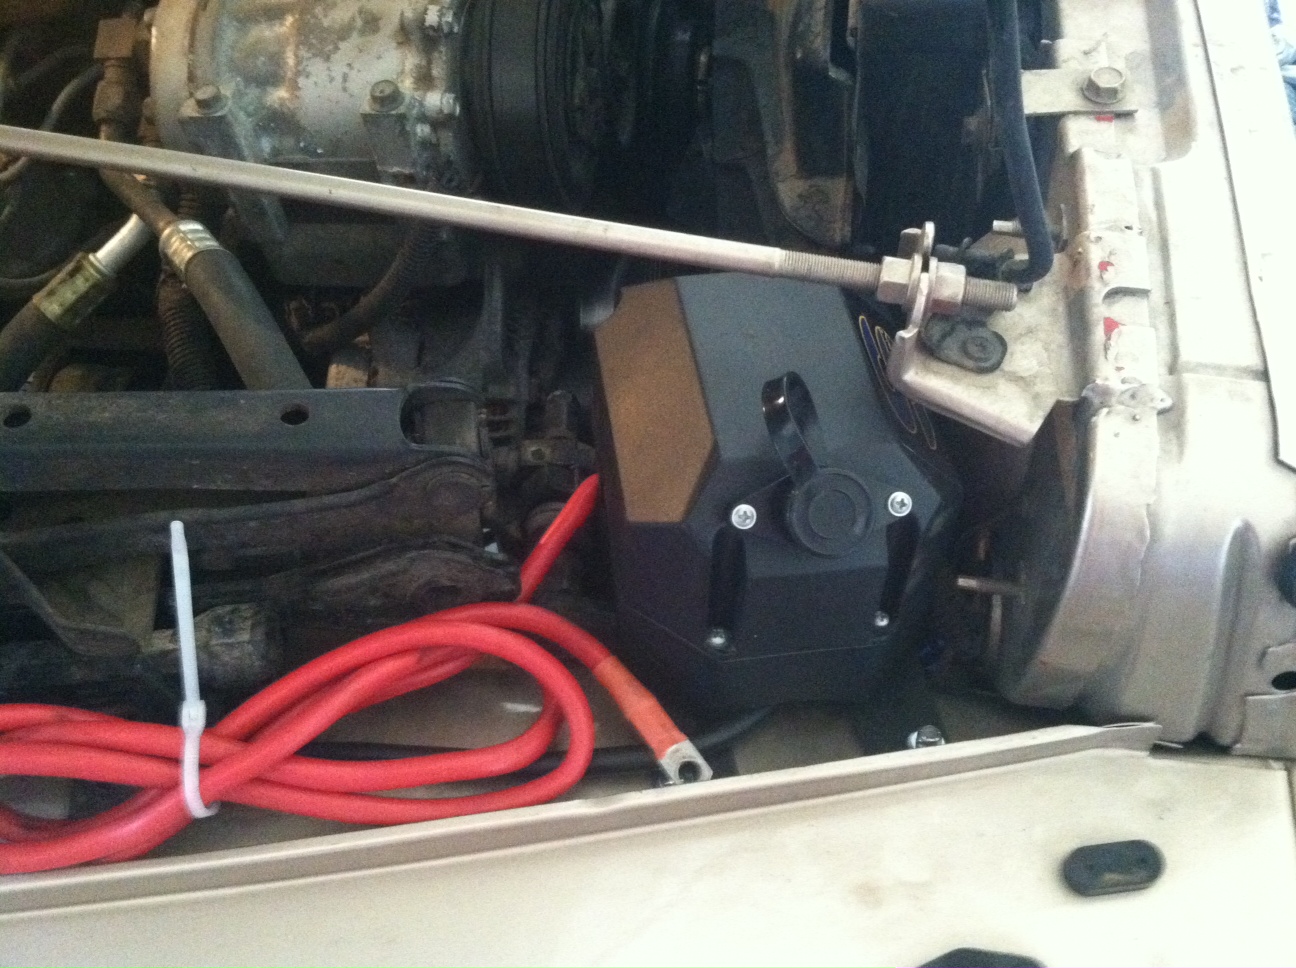
To remote mount the superwinch solenoid you need 3 cables from the solenoid box to the winch. I went ahead and also ordered a replacement for the original postive cable from battery to solenoid just to remove all the excess you see in the picture above. All cables need to be 2 guage (straight from the superwinch help line). Once the cables arrived the hookup was a cake walk.
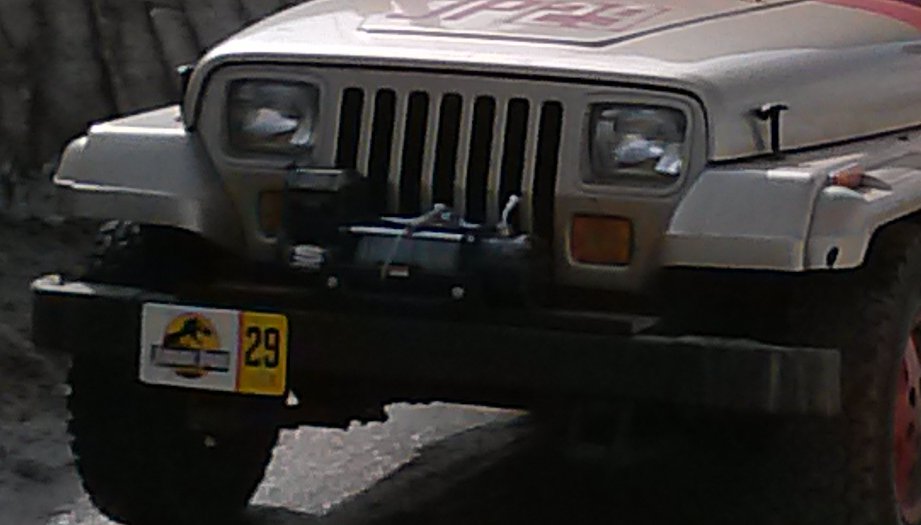
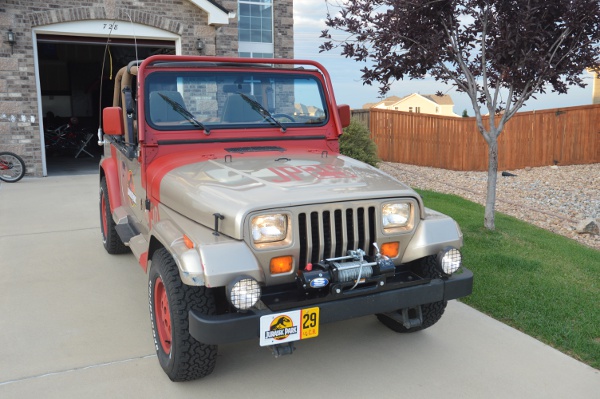
Stock Front Fog Lights: I tried to order original equipment Chrysler/Jeep Fog Lights. A website dedicated to factory parts listed them as available and also the special angle bracket. But after placing an order and waiting 2 weeks, I got an email that these parts were no longer available and my $$ had been refunded. Drat! However I knew Delta makes some fog lights very similar to the stock original ones (delta 100 clear fogs with the stone guard). But what about the brackets. I could simply put a hole through the bumper and bumper mount them, but the originals sit back a little, and I like that look. My neighbor offered to bring me home some brackets from his machine shop, so I gave him a template, and he delivered brackets about a week later. Luckily the original fog light wiring was still under the bumper(since this was a sahara and someone had removed the fogs at some point), so wiring them up was simple, and the brackets my neighbor made fit perfectly. Here is how the Jeep front looks now with the fogs and winch solenoid gone. 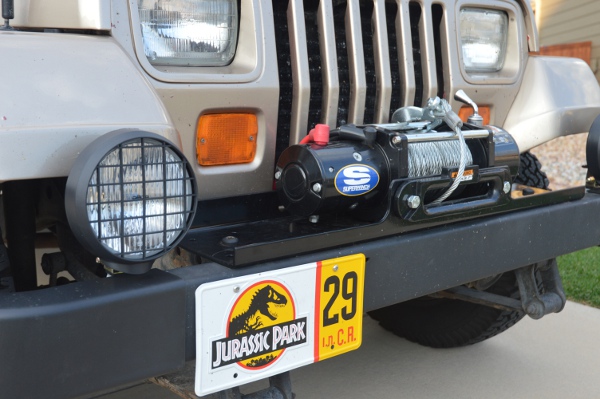 The old bumper ends were in bad shape and since the brackets to hold the fog lights attach to the same bolts, I also replaced those while I was doing all of the above. I may need to repaint the bumper now as it looks a bit faded next to the new parts.
Mopar Light Bar: The light bar for JP 29 has no light tabs and appears to be a solid piece (the originals may have been 3 piece bars, but during painting they may have filled the seam up, while removing the light tabs and painting it). I had found a light bar on Craigslist, but it was for a TJ, so the mounting holes were wrong, and it had light tabs and was a bit rusty. Instead of altering it, I opted to find a fab shop to make my light bar, by simply copying the one I had, and leaving off the light tabs. Removing the old windshield bolts took a ton of work as they were seized up badly, one even needed an easy out after it sheared off. The fab shop did a great job copying the one I had, and after priming and painting(with plastipdip), I got that installed as well.
 So Jeep #29 Is now 100% complete.
It still has shiny metalflake vs correct low gloss base color, and the red is all plastidip right now. When the stars align correctly I will be repainting her, until then its all about the fun!


