JurassicJeep.com
About  |  Jeep #12  |  Jeep #18  |  Jeep #29  |  Reference  |  Shop  |  Forums

Posts Tagged ‘Jeep #12’

Jeep #12: Disassembly Begins

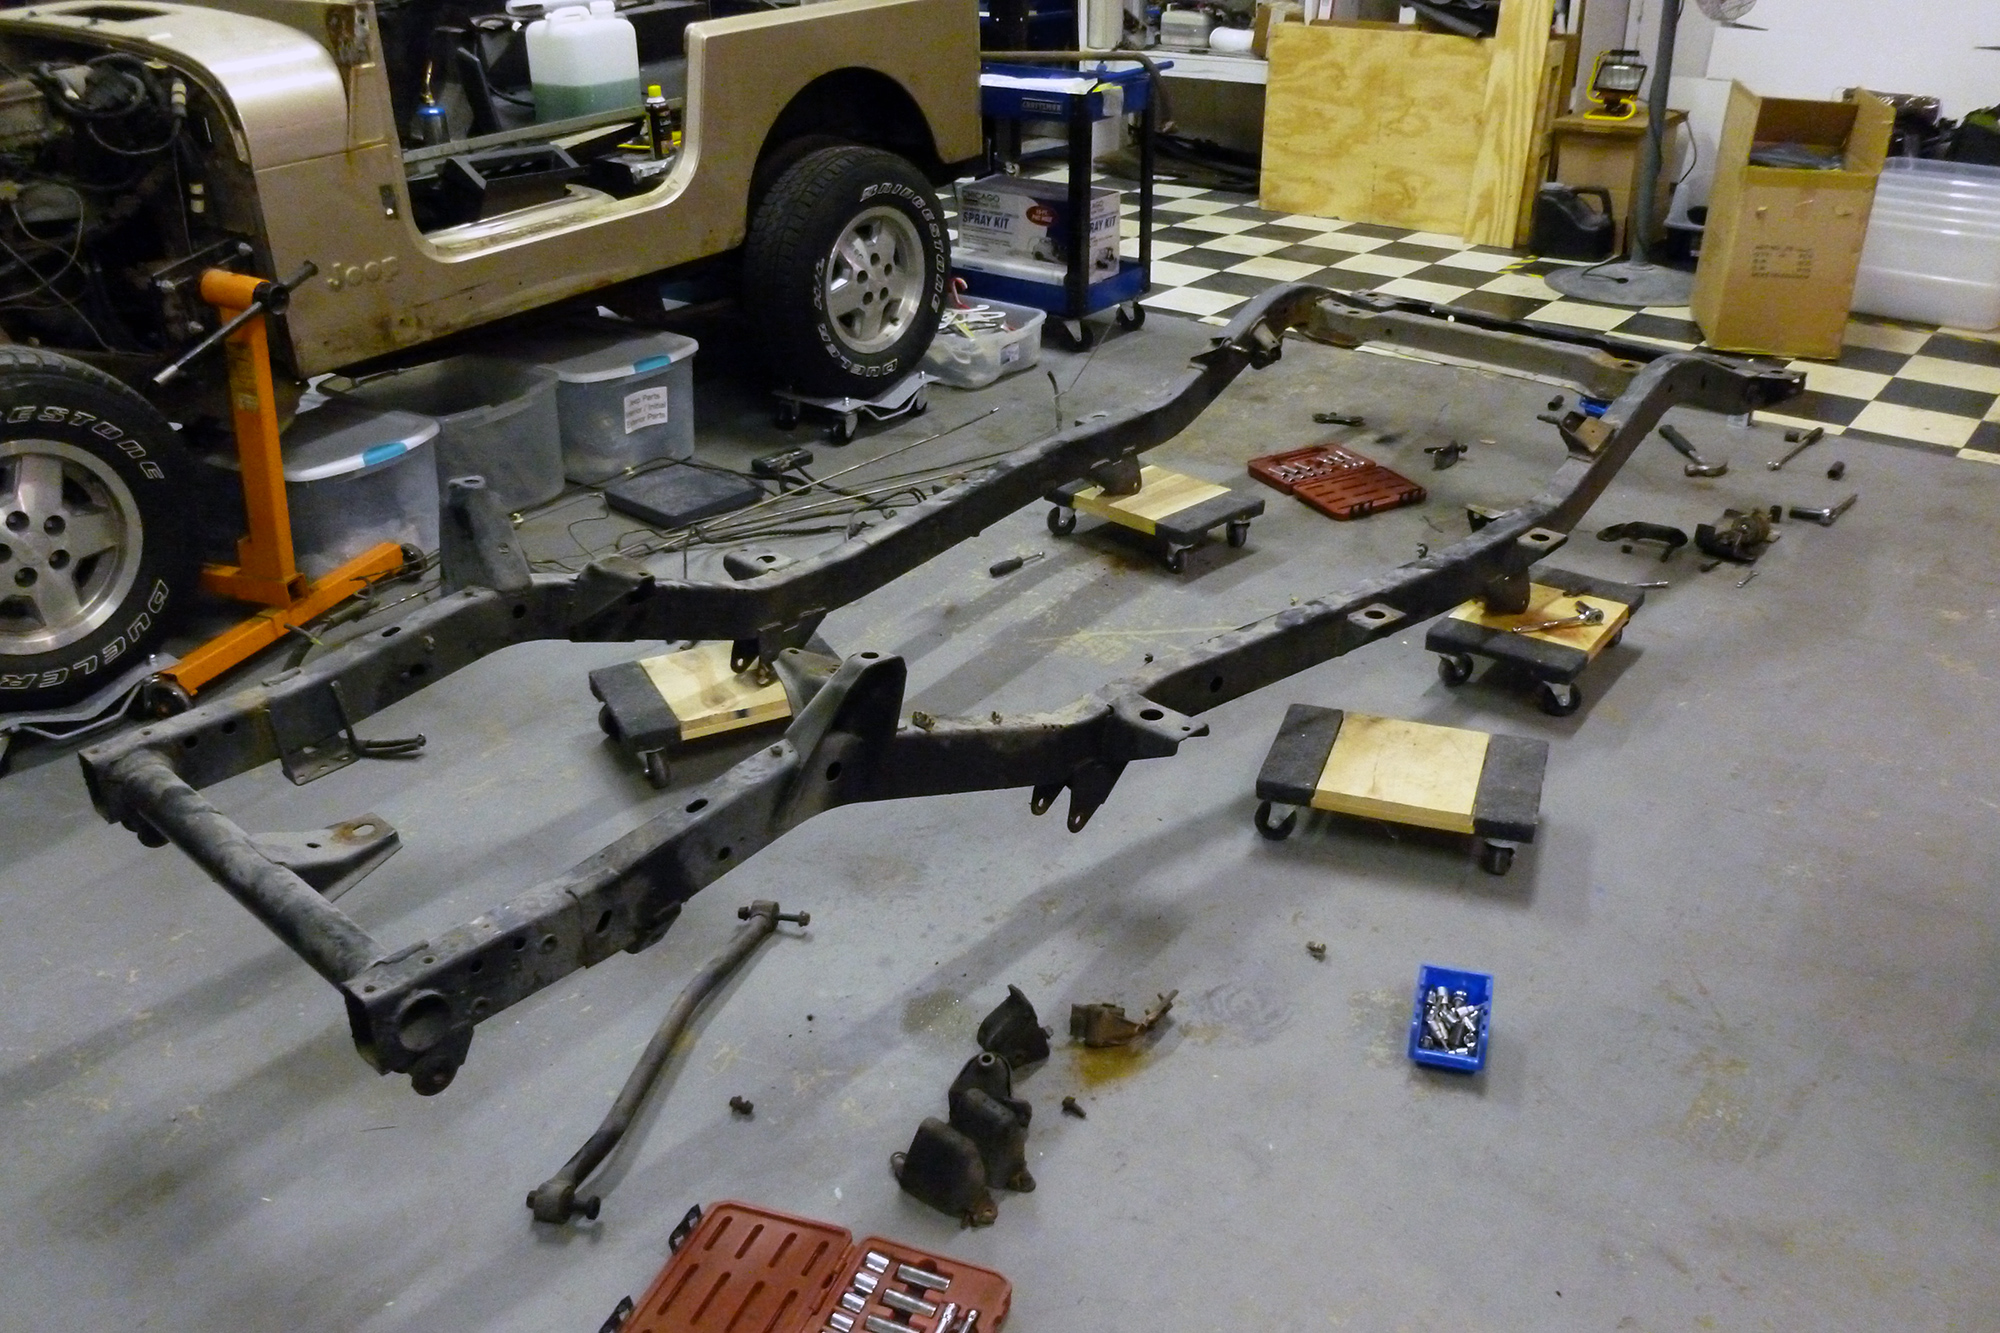
Been a long time since I’ve updated this. Kinda sad that I got that frame almost a year ago, and it’s still sitting waiting to be used.

But it shouldn’t be waiting much longer!

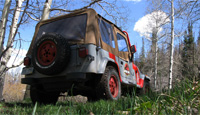
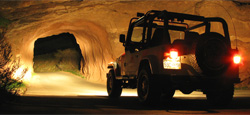
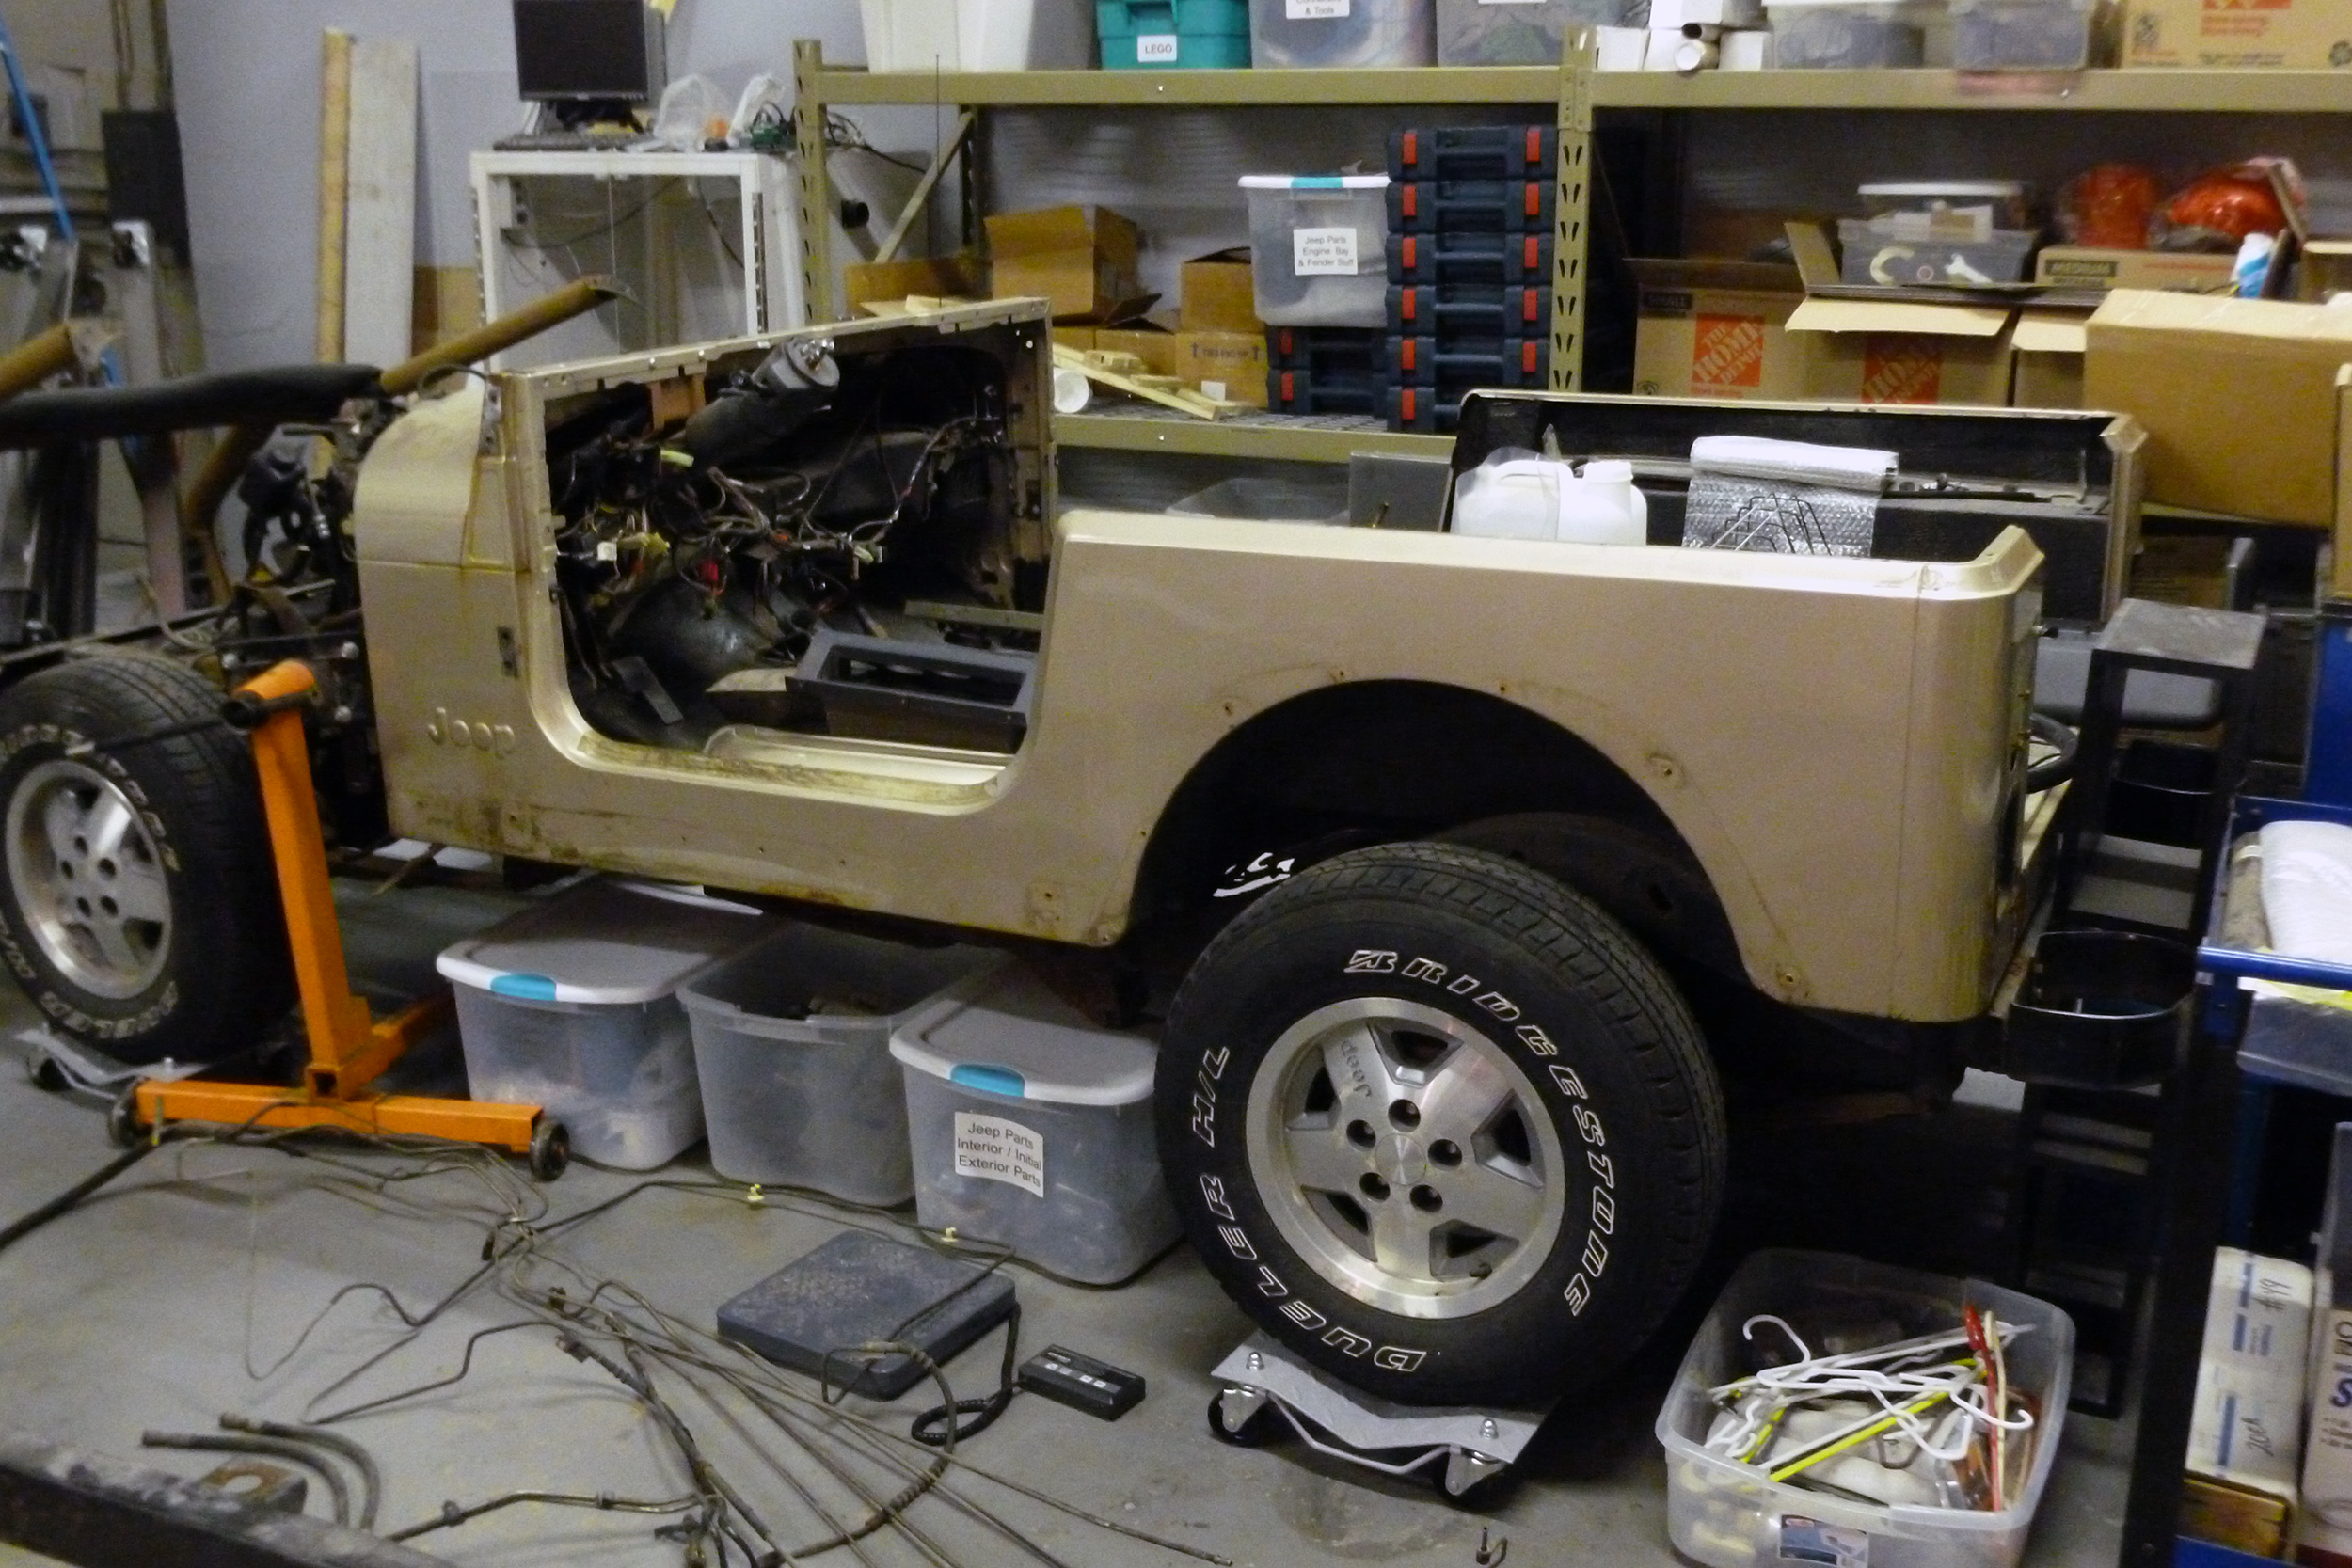
In Jan I sold my hardtop. And then the Jeep had been sitting inside for the rest of the winter. A few months ago I moved and Jeep and started to unbolt a few things, but not really remove anything. Earlier this week Kevin (Boomerjinks JP #18) wanted to hang out and I suggested we do some work on my Jeep. He was an hour late, so I started without him and actually unbolted a lot of things. The seats, the rollcage, seatbelts.. etc. I tried to unbolt the windshield, but all those torx bolts stripped out. I ended up doing the quick and simple thing and just cut the hinges right in half. Easy peasy. Finally Kevin showed up to help do some heavy lifting and we got the roll cage, seats, windshield frame and hood out of the way. Enough for a few hours work.

Jeep with no seats, no rollcage

Jeep no hood or windshield

The next few days I would come in and take something off, bag it up and catalog it. Just small items like the license plates, frames, taillights.. etc.

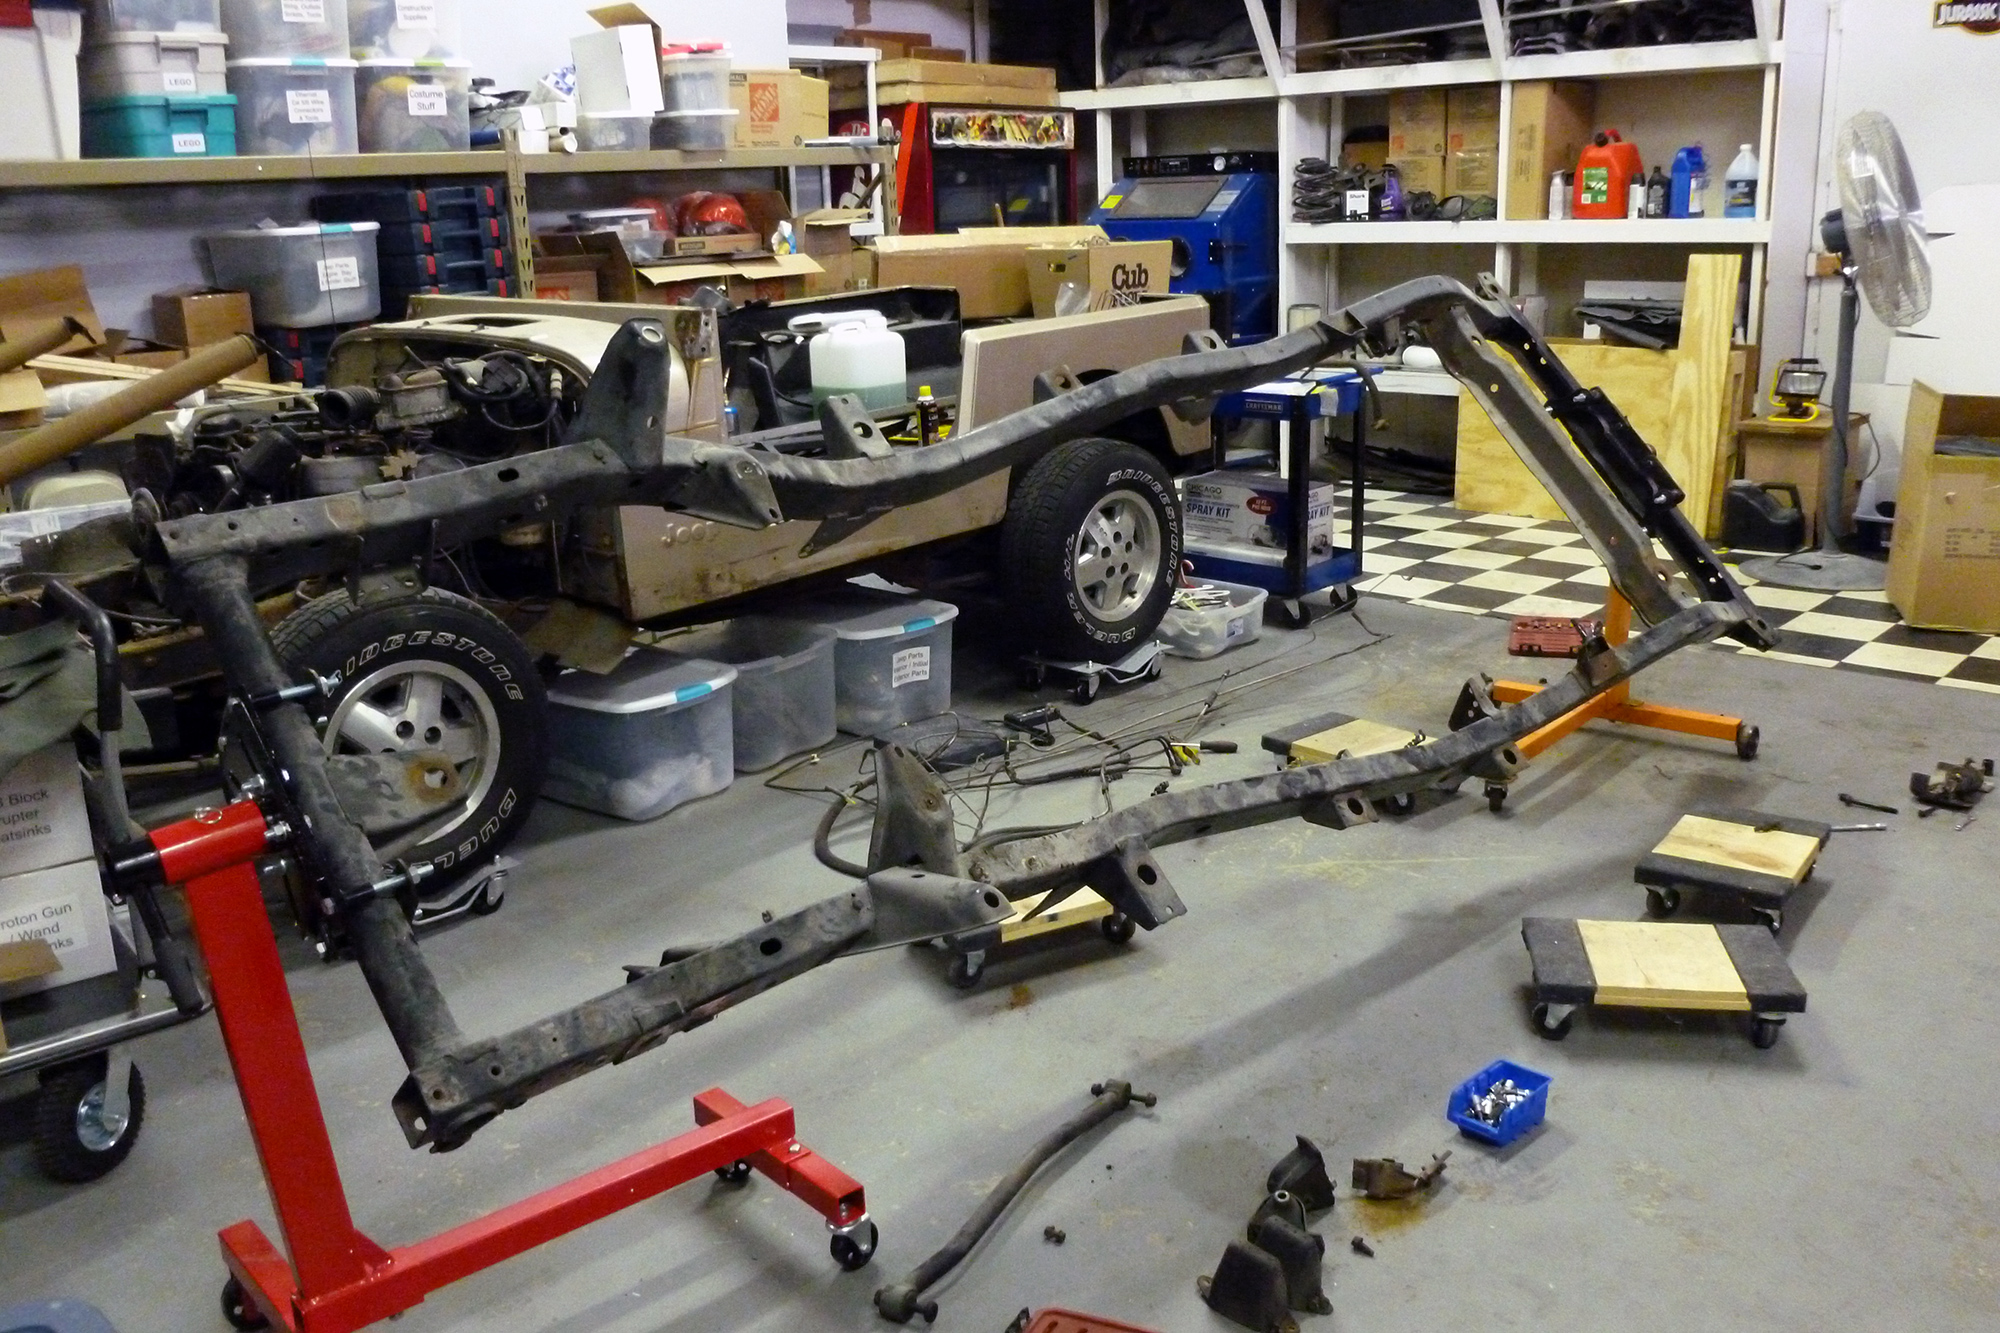
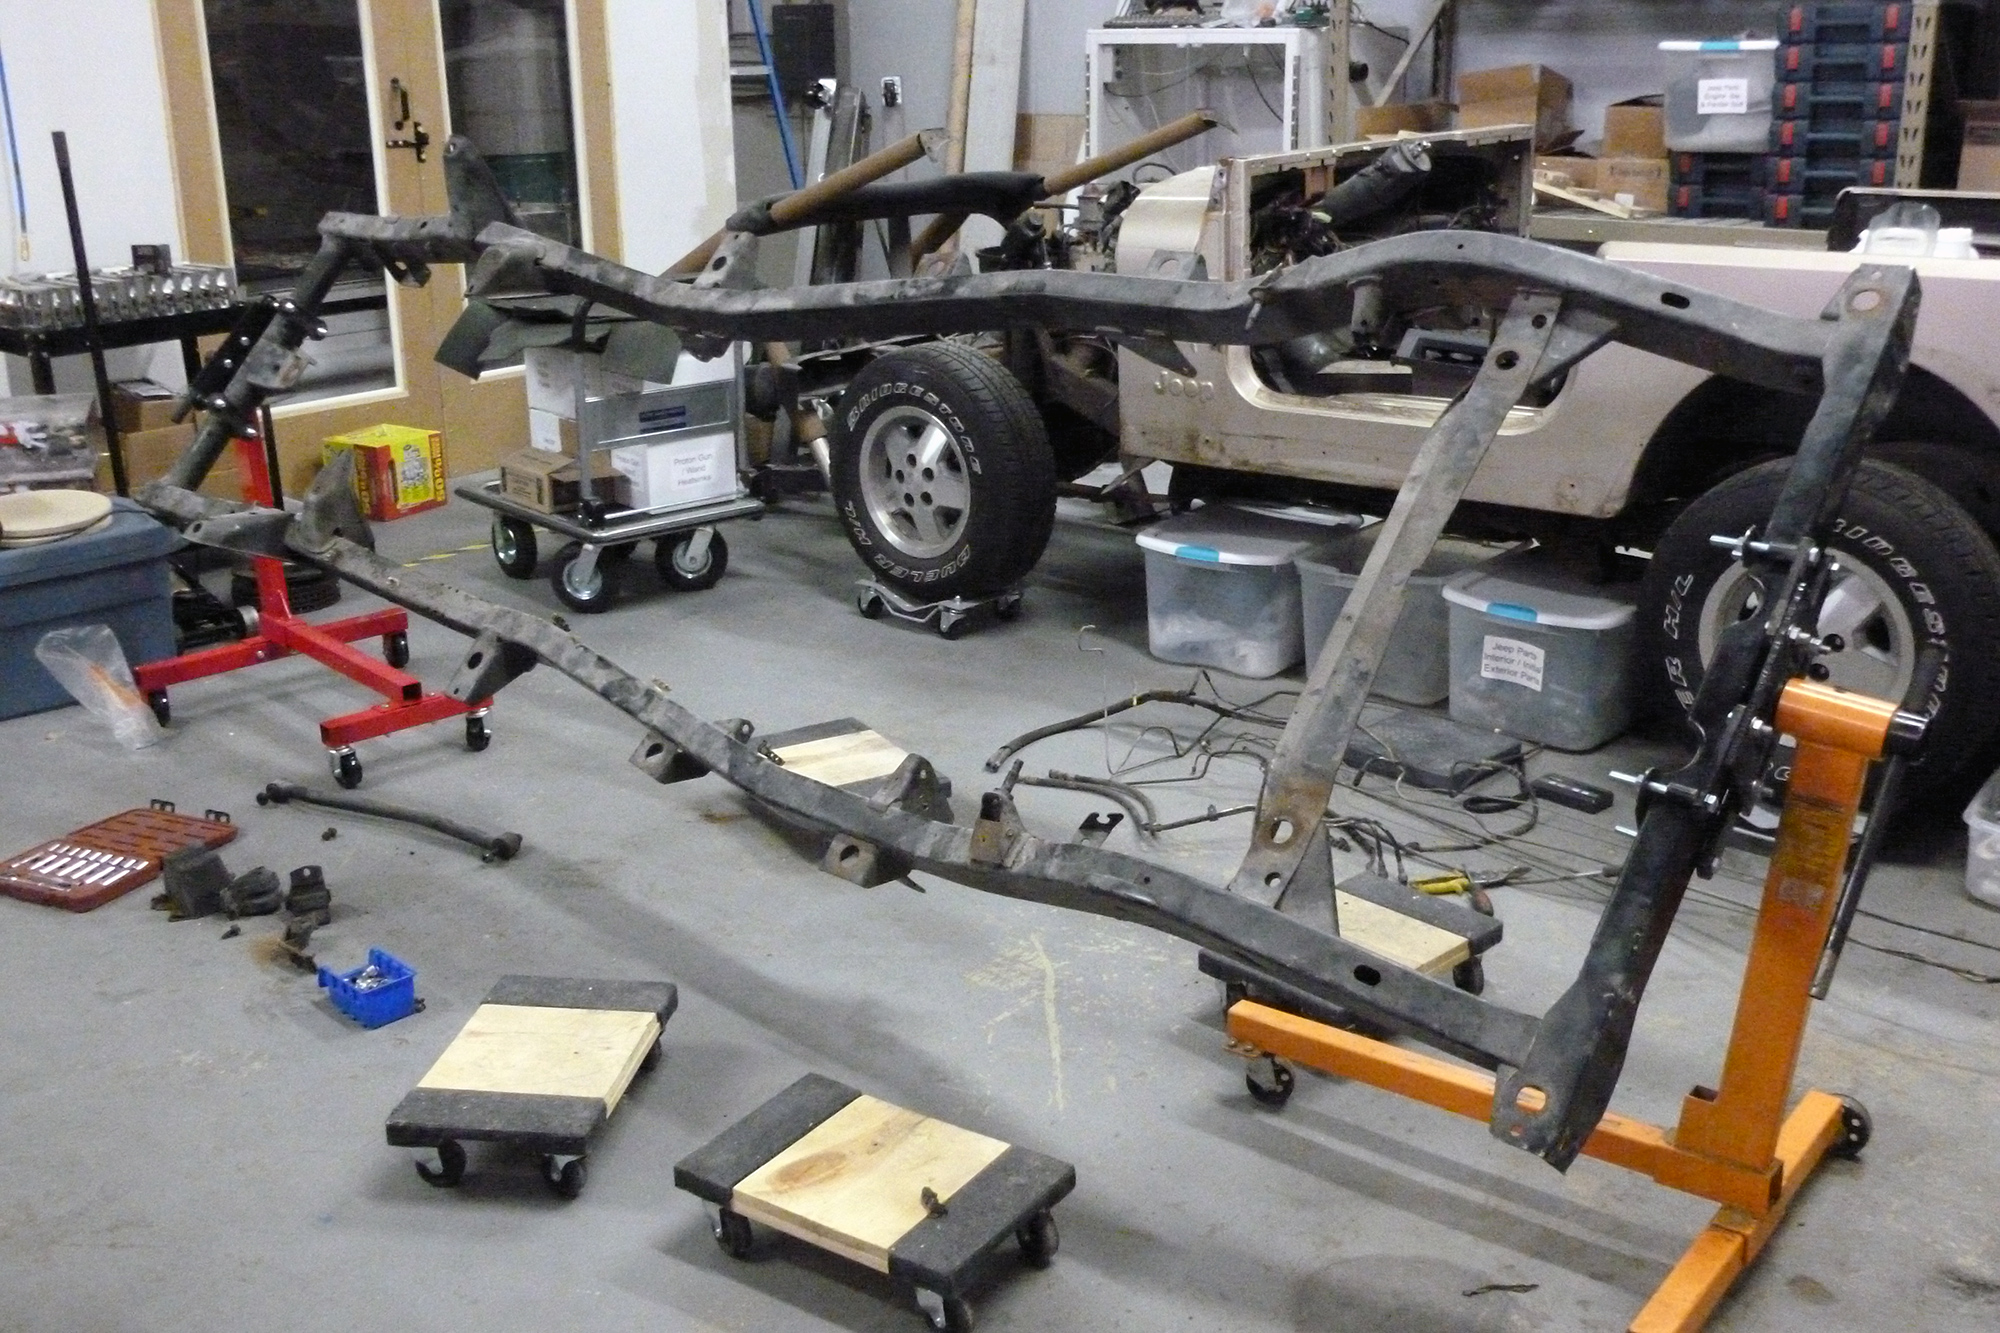
Last night however, I decided I should give a go at taking off the fenders and the grill. The grill I had removed before, so I knew it wouldn’t be too difficult. The fenders on the other hand were going to take some work. I started with the passenger side fender, which is easier than the driver side as it just has the battery tray and jack in the way. After some unbolting, it was out. Next was the grill, which required draining the coolant and removing hoses, but again was pretty simple. The driver side fender is only a little bit harder than the passenger side. There are a lot of electrics, coolant / washer fluid bottles, evap canister and some other stuff to remove before getting access to the bolts. A few hours work total over Friday and Saturday morning and I have this:

Jeep with Fenders off.

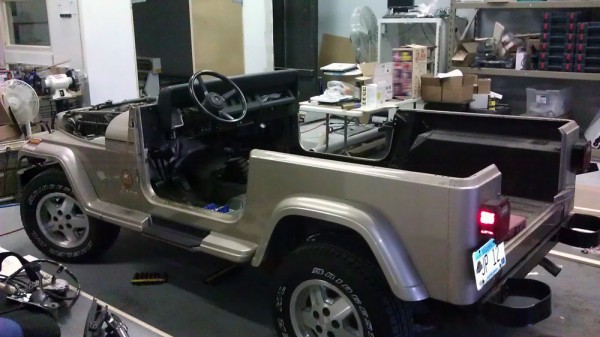
Hopefully a lot more progress will be made in the next few months. Kind of sucks to not be driving the Jeep with the nice summer weather upon us… but the faster I get this done, the faster I can drive it!

Jeep #12: Back at it!

We’re back at it after letting the Jeep #12 sit during the cold and long Winter here in Minnesota. I didn’t drive it much during the Winter, though there were days where I certainly should have! Now that the temperatures are finally raising up to the point of being able to drive with no top, the Jeep is once again becoming active. I took the hard top off and the hard full doors. A friend found a set of almost brand new soft doors at a local junkyard and at only $80 they were a bargain.

Up next is figuring out the wiring issue that may or may not still be affecting the headlights. Followed by painting the replacement fenders and windshield frame. After that it is time for the bodywork and (eventually) paint! Hopefully we can get this thing done this summer!

Jeep #12: Really Poor Jeep…

Needless to say.. it snowed before I could put the Jeep back together. We got 10″ or so…

Jeep #12: Poor Jeep…

A few weeks ago while driving the Jeep, the power steering lines completely rusted through and drained the lines in a parking lot. Without easy steering, I parked the Jeep for a few weeks until I could get the parts and a nice enough day to do the repair.

Figuring out a way to get the power steering lines out prooved to be a little more work than you would anticipate for a Jeep having the steering box OUTSIDE of the front bumper. I ended up having to completely remove the front grill and core frame in order to gain access to the lines. It may have only been 12 bolts, and removing the radiator but it brought along its own headaches.

Here is what the Jeep looks like without its front end:

Kinda cool. I’ve never had a vehicle with a main frame so you could just remove a large chunk of the front end. If the Jeep weren’t so rusty, working on this thing would be a snap.

The bad news though was that the radiator was on its last legs. The fins were all rotted away. I was surprised it worked at all… not something I was willing to test with Winter approaching.

A new radiator was ordered along with all new hoses and bolts. But that wasn’t the least of the troubles. The main body mount for the front had completely rusted through the frame. A quick patch panel was made and welded up. Looks pretty nice?

Gotta try and get it all back together tomorrow morning as long as the 40 degree day isn’t bombarded with snow or rain showers!

Jeep #12: Frame Rust Repair Part 3

Finally got done welding (both sides) of the rear frame. It took a while longer to get done thanks to Dragon*Con and a trip to New York with Jeep #18 owner Boomerjinks. I thoroughly welded all sides of the frame with the plates and then hit them with a layer of rust preventing paint, and then black paint. It turned out great, but it makes the rest of the rusty frame really stand out now!

Here is the passenger side, the driver side looks the same:

Now to put the gas tank back in, and drive the Jeep without a top for a few more weeks before it becomes too cold to do so!

Jeep #12: Frame Rust Repair Part 2

Just an update on the Jeep’s rusty frame repair. I have managed to get one side done. What a pain in the ass this is being! The welder is acting funky and throwing sparks like crazy, I have several very nice burns on my arms, hands, and legs from molten metal. I’m overall pretty happy with how the welds are turning out. Perhaps a little grinding and then adding a layer of rust encapsulator and chassis paint.

Jeep #12: Frame Rust Repair Part 1

This will be the first in several posts about fixing the frame rust, as I will not be able to finish it all today, or in 1 single day. The fuel tank removal took longer than I had wanted, and I’m sure installing it will not be any easier. The reason for removing the fuel tank was ofcourse to get in there and repair the frame rust that has plagued the Jeep. The repairs should be very strong, and as long as it doesn’t immediately rust out again, it should last several years before I need to think about replacing the whole frame. Here is the rust that I have managed to break free from the outside (and inside) of the frame. Consider that I had gotten rid of a lot of rust prior, and it all ads up to A LOT.

Here are the plates that I have purchased to do the repair. I got them from a guy on JeepForum, but I think he also sells them on eBay. They are very thick ~1/8″+ laser cut steel, to which I made a few modifications. Here they are clamped in, but in the next few days they will be fully welded into place.

Jeep #12: Fuel Tank and License Plates

Since it was in the 70′s today I decided it would be a good time to get some much needed work on the Jeep. I was ambitious to think that I would be able to get all of the work done today, but the rust monster has struck again. I intended to repair the rear frame area rust, which unfortunately requires removing the gas tank. It took a lot of cutting, cursing, and cramping but I managed to get the gas tank out after a few hours. Most of the rubber hoses will need to be replaced however, because when the tank was last installed (either by someone, or at the factory) all the clamps were installed upside down and inaccessible.

I will have to resume the welding sometime later this week.

In the meantime I had some stickers made and I decided to see how they would look like on a license plate blank. They need some tweaking and overall are too big, but a set in the right direction for an accurate license plate. (BTW…. would anyone like to buy one?) I also took a quick shot of my work area’s Jurassicness.

Jeep #12: Amberlamps!

To follow in Boomerjink’s footsteps I am finally getting my Amber Lights ready to be installed on the rear of my Jeep. These lights are Explorer Pro-Comp 9250 lights that I bought from an online retailer. They took 2-3 months to arrive. Not going to recommend that company here.

The lights are extremely close to the ones on the original Jeeps, and I would not be surprised if an older style of these lights were what was used. They must have updated the lights recently though, as the lenses were actually clear, and the reflective surface was what was amber. So in order for these to actually look right they need to be painted.

Here is what I used to paint the lenses. It is Krylon Stained Glass paint in amber color. Its about $10 for a spray can and is available at Michaels Arts and Crafts store.

The lenses in the Explorer Pro-Comp are made of glass, which makes them very easy to paint. If you screw up, it can be sanded down.

Here is where the lights mount. Note that there is a bolt on the bottom to secure to the top of the rear light.. It actually sits down on top of that light and does not stick up this high. The lenses are also not installed in this photo…

Hopefully I can get these installed and wired in the next few days.

Jeep #12: Half Painted Fenders

You may have recalled that I ordered and recieved a set of new fenders a month ago. The fenders were completely black primer and ready for paint, and I know that when I get the Jeep painted that they will probably not paint the inside of the fender. So I ordered up a spray can of Sand Biege Low Gloss Metallic from an online paint suppler. I prepped the fender with a little surface cleaner and then put on two and a half coats. Turns out there isn’t as much paint in those cans as you would think… but atleast one fender looks well coated on the inside.

© 2010 - 2013 Jurassic Jeep - Created by AJ Quick - Jurassic Park is a Registered Trademark of Universal Studios & Amblin Entertainment, Inc