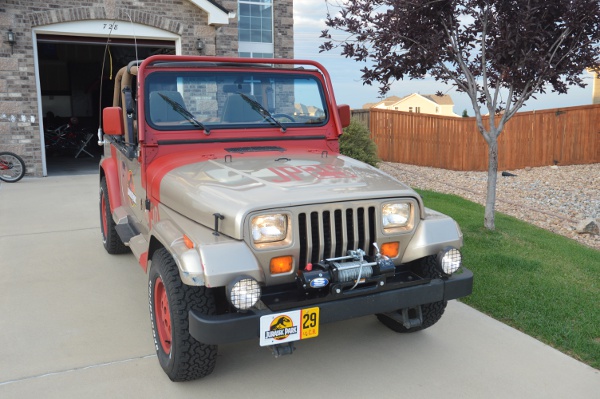
When I installed the rear fog lights, I did not wire them into the vehicles electrical system. I wanted to wait until i had fully planned out my electrical system before tackling this job, so I only had to do things once. The default Jeep rocker switches fade badly over time. They might have looked nice when the Jeep was new, but no more… My front fog switch looked like this:
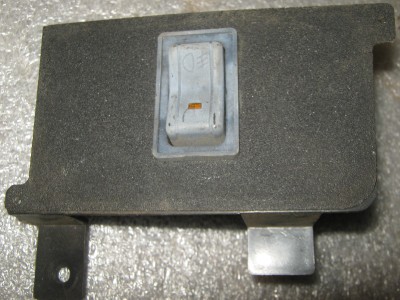
Stock Rear Fog Switch
I decided I not only wanted to install a rear fog switch, but also replace this old faded thing! I looked around for alternatives, and finally found switches I really liked. They are Carling Contura V Laser Etched switches. These switches are sealed switches originally for marine applications, so not only are they great looking, they should last a long time, and bonus they are resistant to water, being rated at 30 minutes submersion under 1 meter of water! They are a little expensive, but you can get tons of different options on the switch face, and color of illumination, and as John Hammond would say “Spared no expense”.
The stock mounting panel, seen with the switch in the photo above, has 3 switch cutouts already, only the surface material covers them, so I knew I wanted to install my new rear fog light switch adjacent to the existing front fog switch. Hmm? What to do with the third switch location. I decided to add an in cab winch control.
With decisions made on the switches I had to plan out the wiring. Complicating matters is that after I installed the front fog lights, the stock headlight switch was showing its age and wasn’t dealing well with the new fogs. The YJ has the front fogs wired such that they are controlled through the headlight switch. The stock front fog lights will only work with the headlights on, but not the high beams. After I installed the front fogs, I was testing them , and after a few minutes all the jeep lights would shut off for a bit, and then turn back on. When I researched what was going on, turns out the headlight switch, when it gets old can’t deal with the extra chore of controlling the fog lights and headlights. So I decided I would wire the front fogs independent of the headlight switch, so I could actually use them, and could use them no matter if I had the headlights on low, high or off.
My final switch wiring thus needed to be: An ignition controlled power feed, so the switches only work when the ignition is on, A power feed for when the dash lights are on(to control the switch lights), ground wire( for the lights in the new switches), a front fog control wire(low voltage, that feeds a relay), a rear fog control wire(low voltage, that feeds a relay), A winch in control, and a winch out control (both controlling the winch solenoid). Its a pretty good bundle of wires, and the power and ground feeds need to go to each switch. I wired this up and made a mini harness, with a 9 pin plug. (7 wires, 2 extra spaces just in case 🙂

Switch Harness
With the Harness made, it was a matter of running all the wires in the jeep to all the proper locations, and tapping into the correct lines. Very time consuming task, but when finished I was able to feed the new wires either into existing wiring looms or where I had a lot of wires (running through the engine bay, I added a new run of split loom, so it looks like it belongs there, and keeps the wires safe. With all of that finished, I wired these into the other side of the plug, so I can now unplug the switch panel if I ever need to work on it, or if I need to get into the dash for any reason. With it all connected, I tested it and it all worked, so I reassembled everything. Here are the final results. Excuse the dirty dash as the Jeep hasn’t had a spring cleaning yet, its dirty from sitting most of the winter!
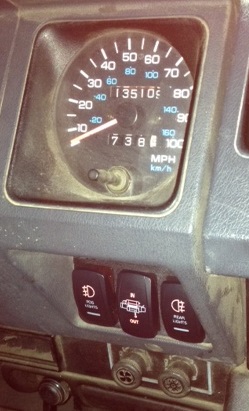
Switches Installed
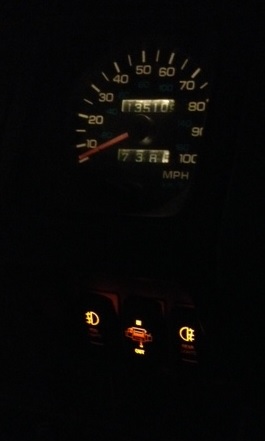
Switches Illuminated